

Description
Make your selections from the drop-down menus above to generate a price.
Features
- Made in Australia
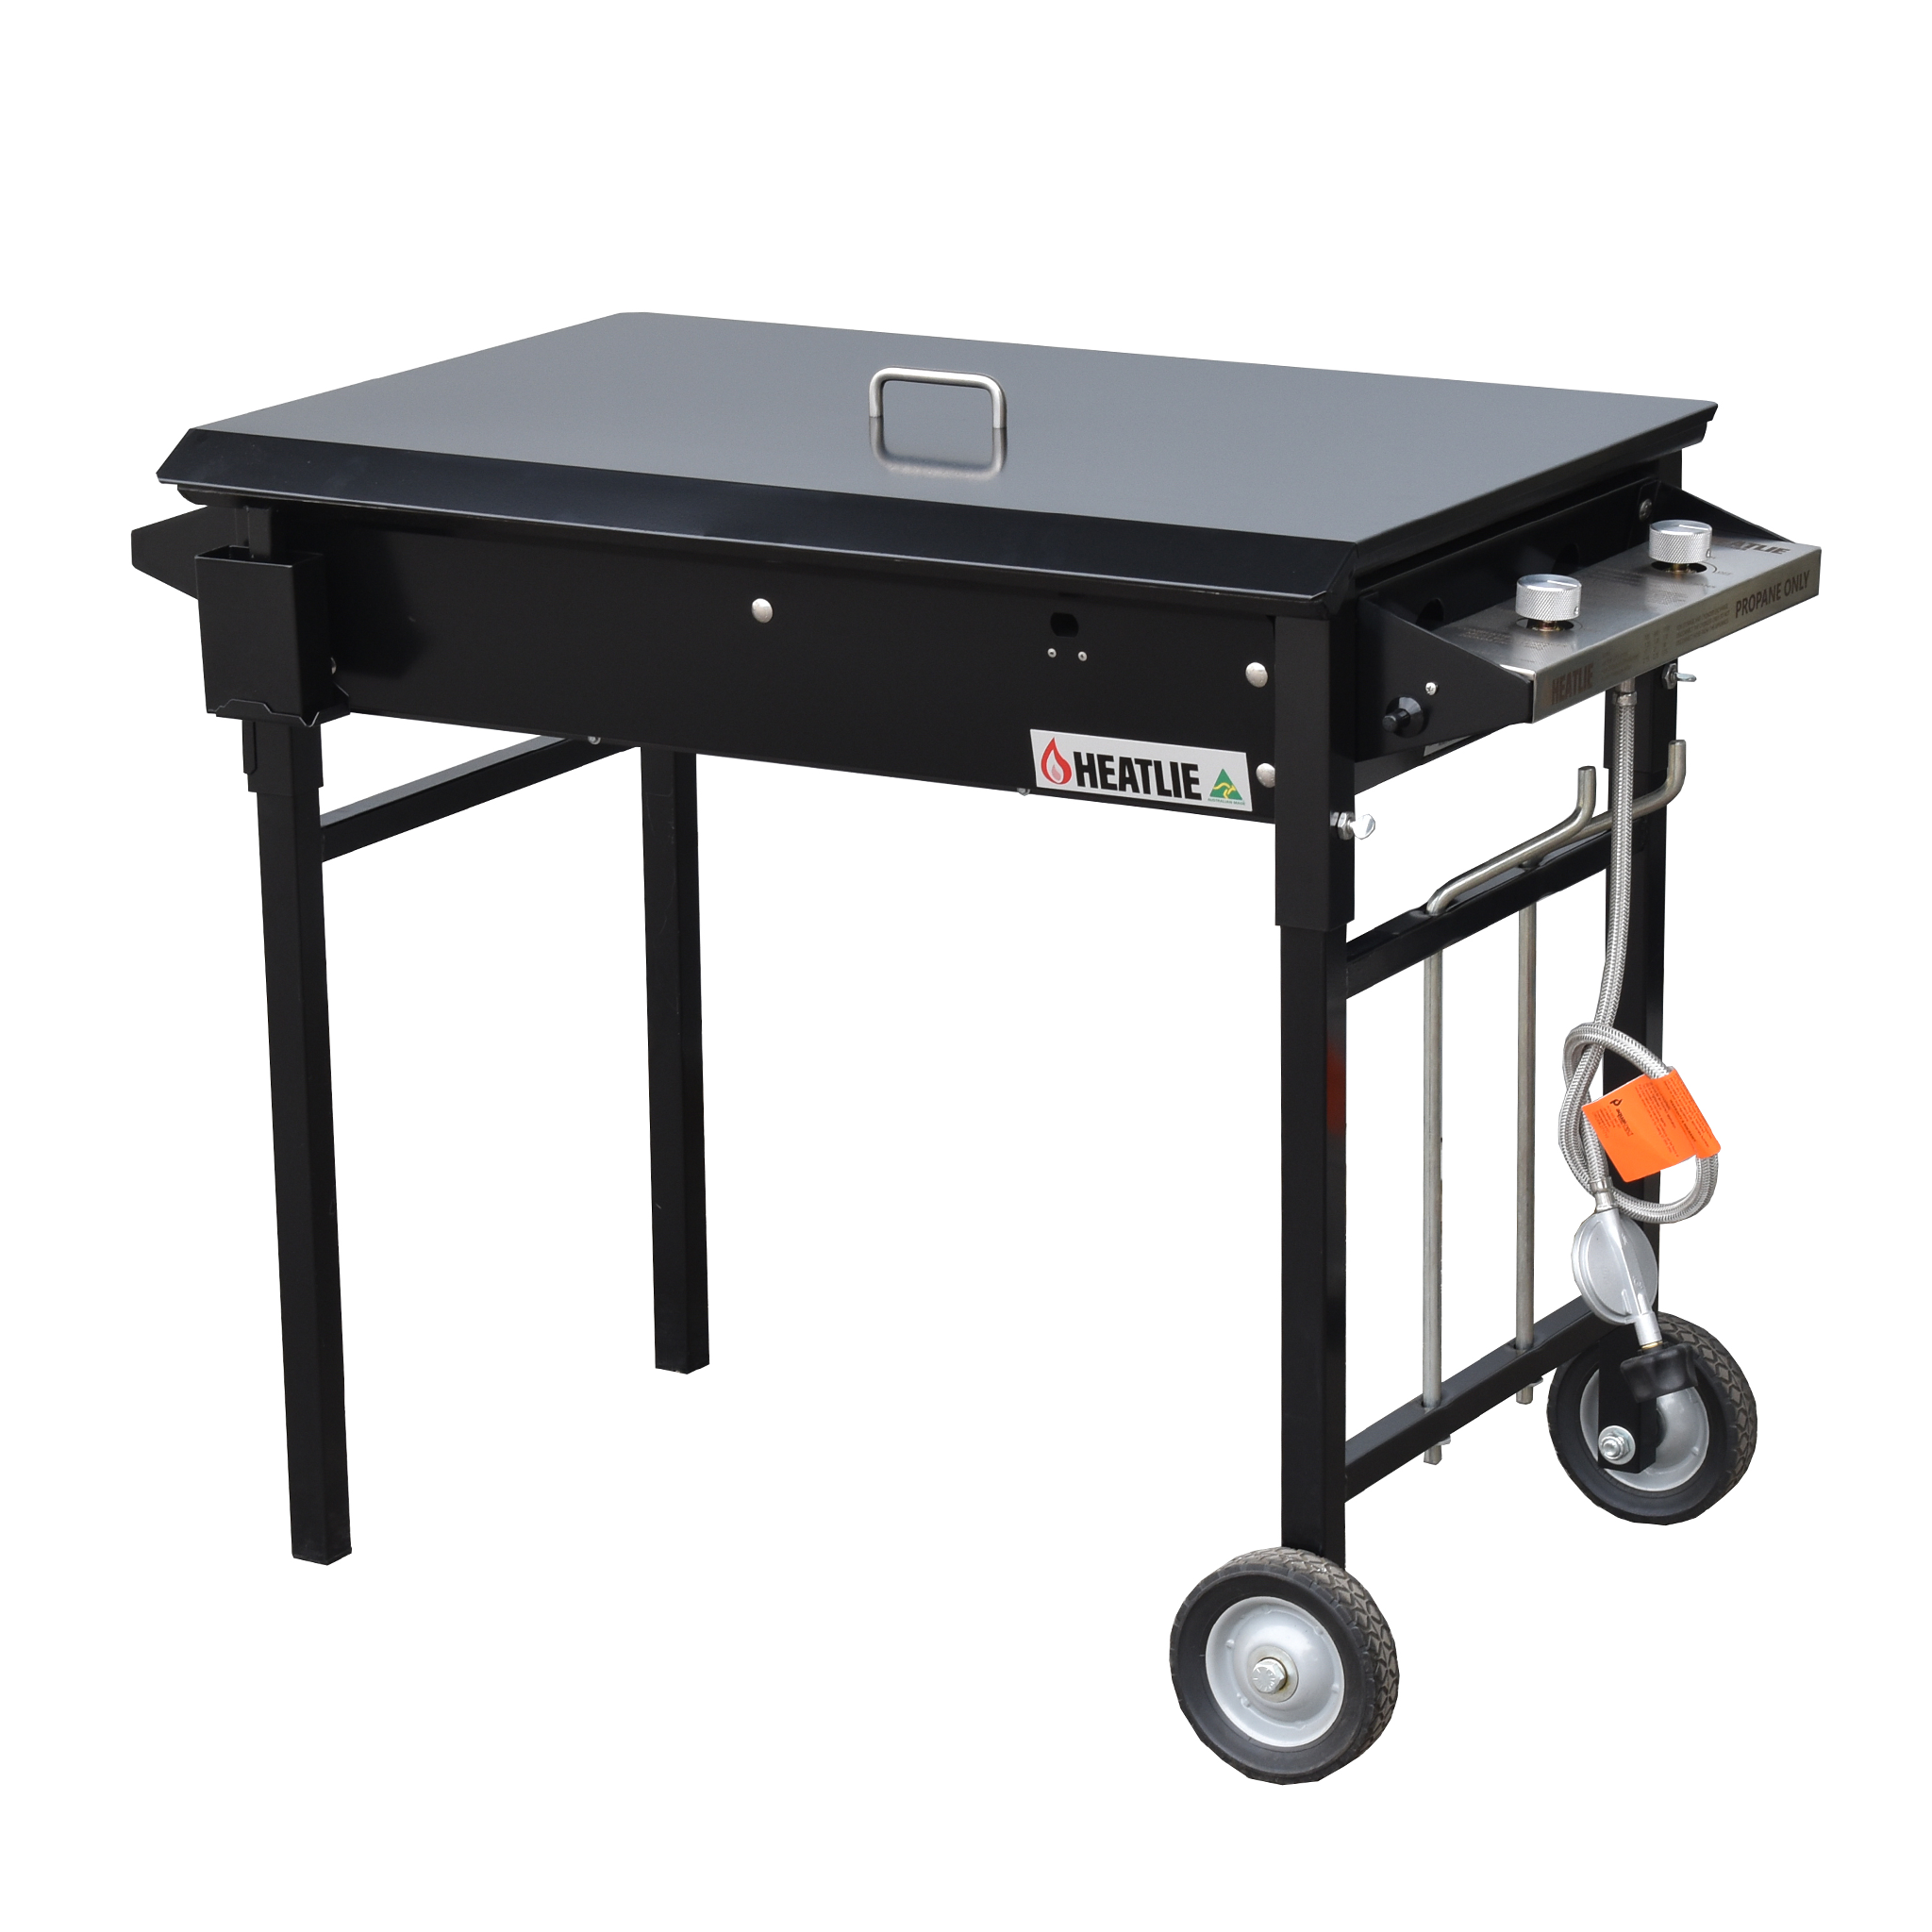
- Two high-powered horizontal burners for even and predictable heat coverage
- Heavy-duty build for longevity with the choice of stainless steel or powder coat finish
- Customisable to your liking within our options
- Comes ready to use, with very little assembly
- Perfect for domestic or commercial use
- Plentiful accessories to add to your experience
If you've ever eaten a sausage from a sausage sizzle, or an egg and bacon sandwich at your local footy club, chances are you've eaten off a Heatlie BBQ!
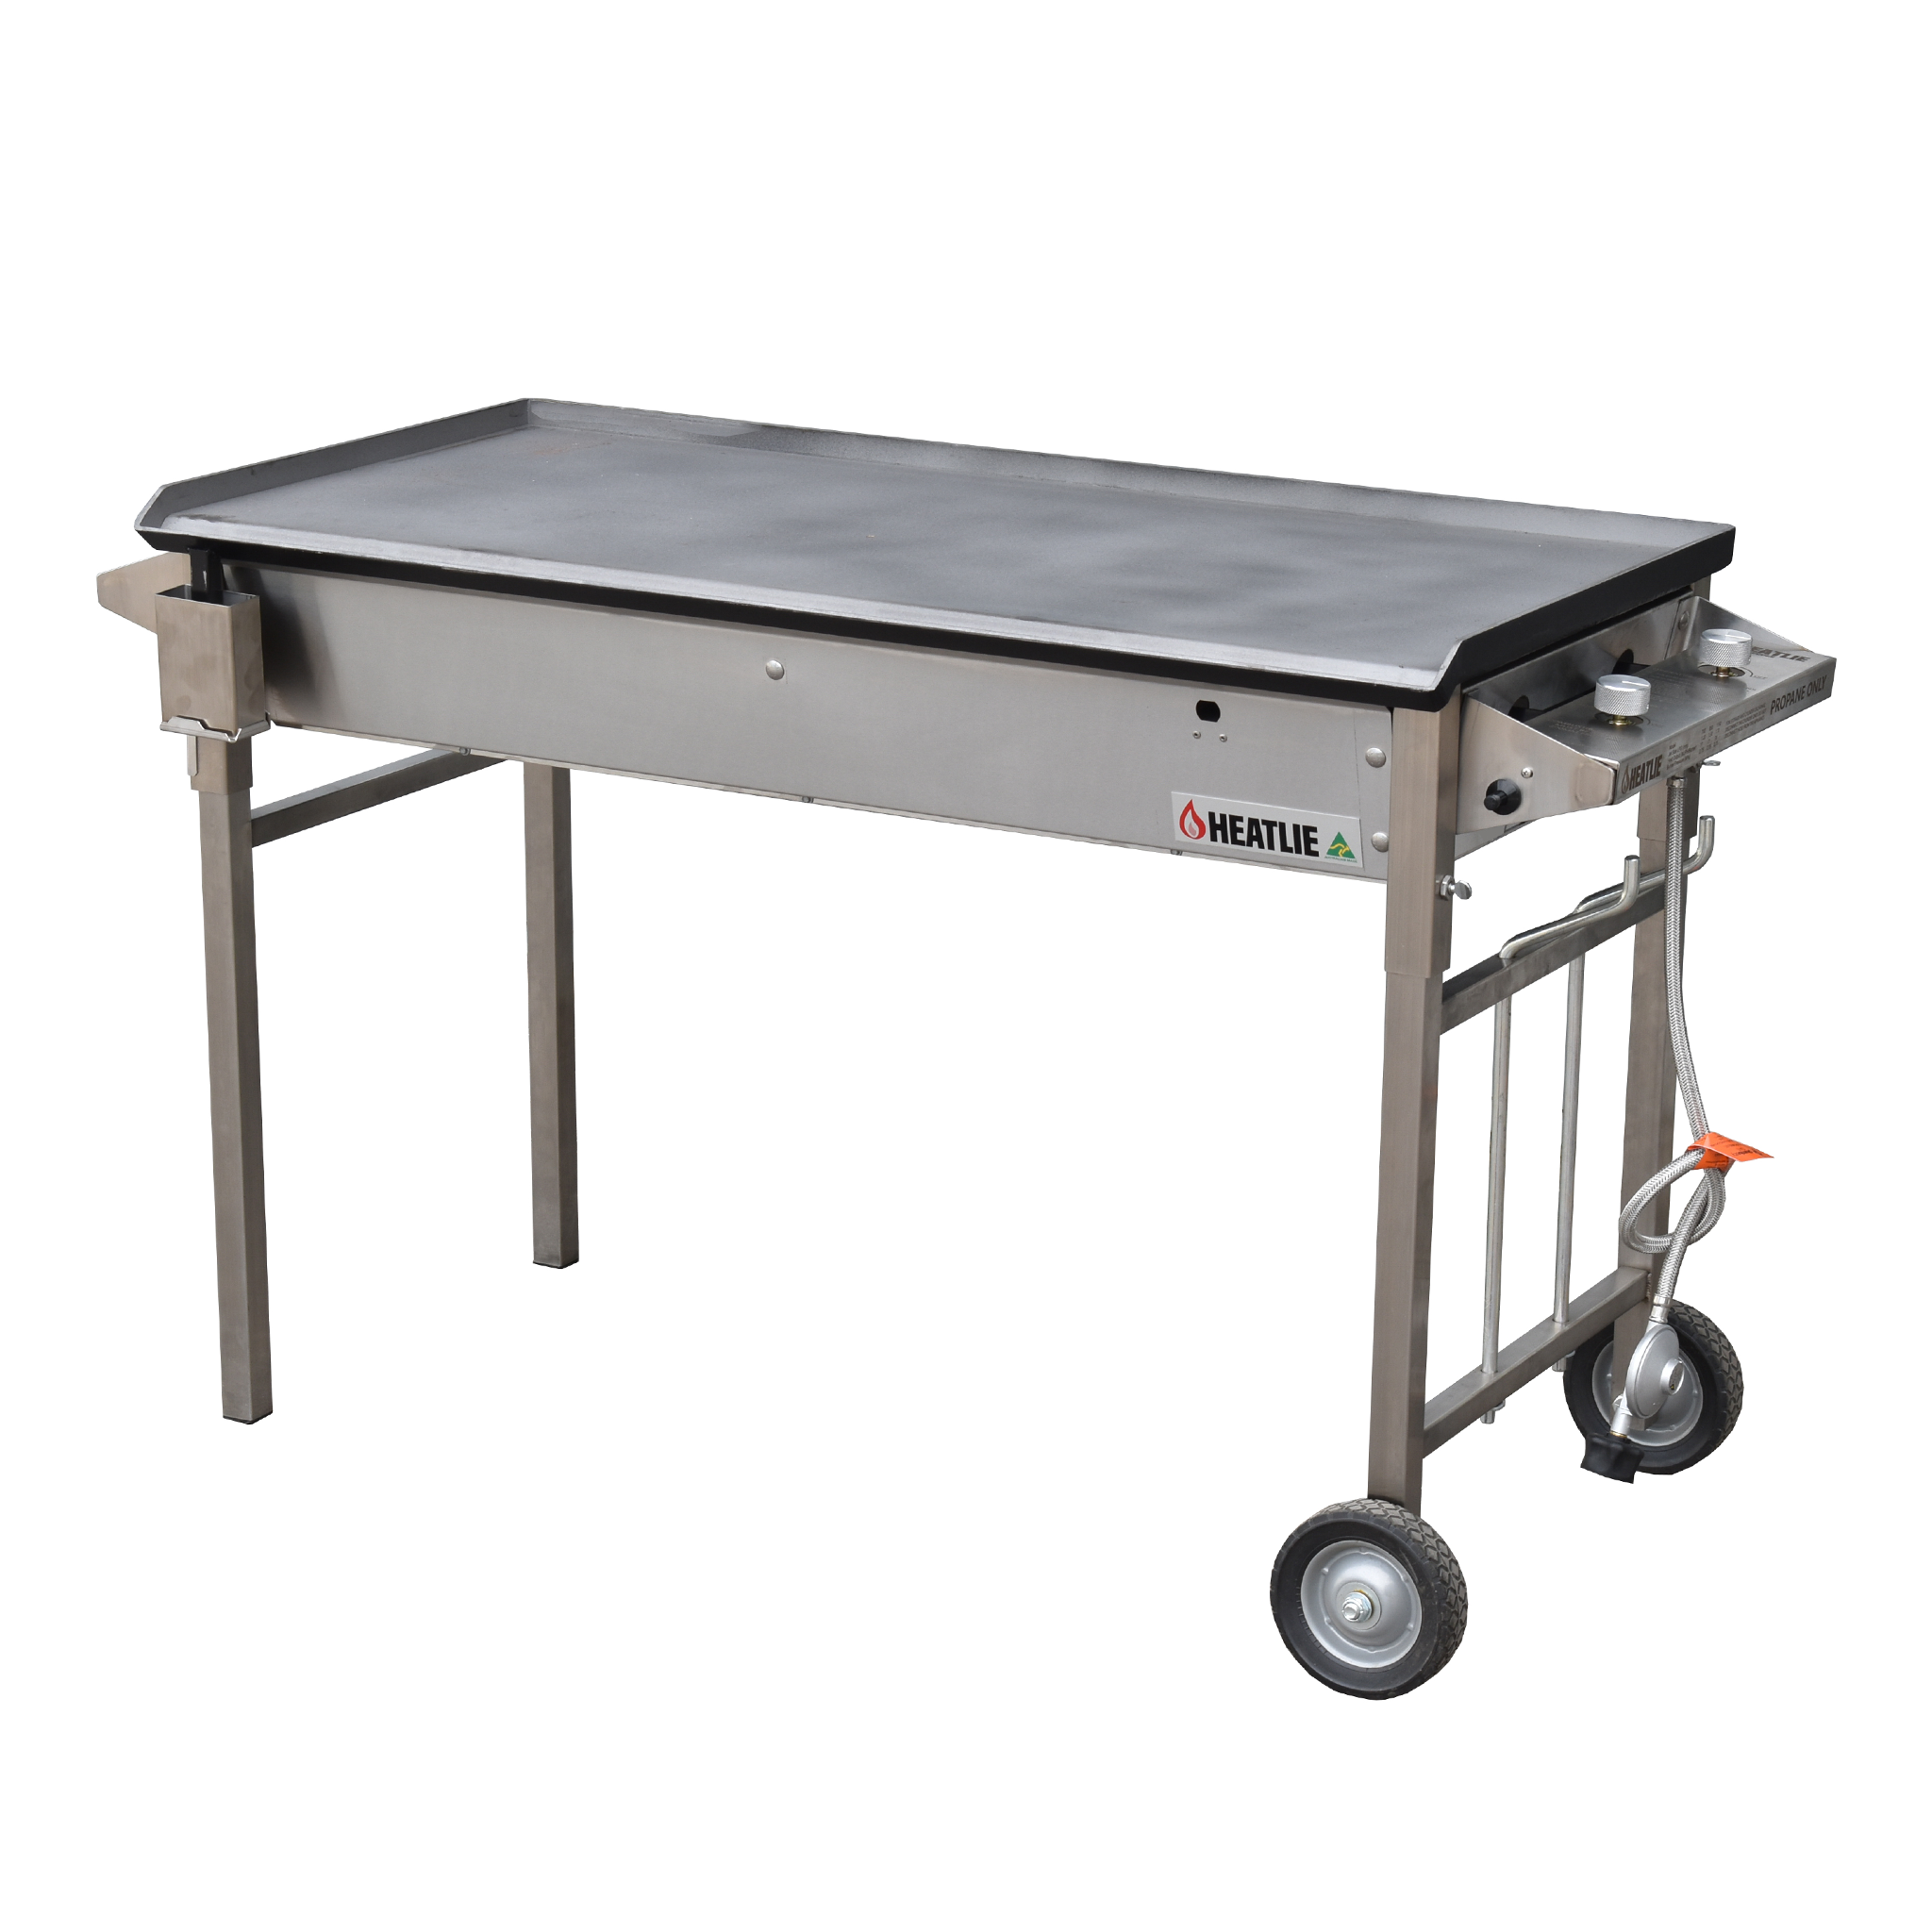
Heatlie BBQs are built right here in Australia from the highest quality materials. We take pride in our craftsmanship so we can guarantee you the best BBQ on the market. Constructed to rigorous standards, this BBQ is crafted in Australia and designed to endure years of continual use.
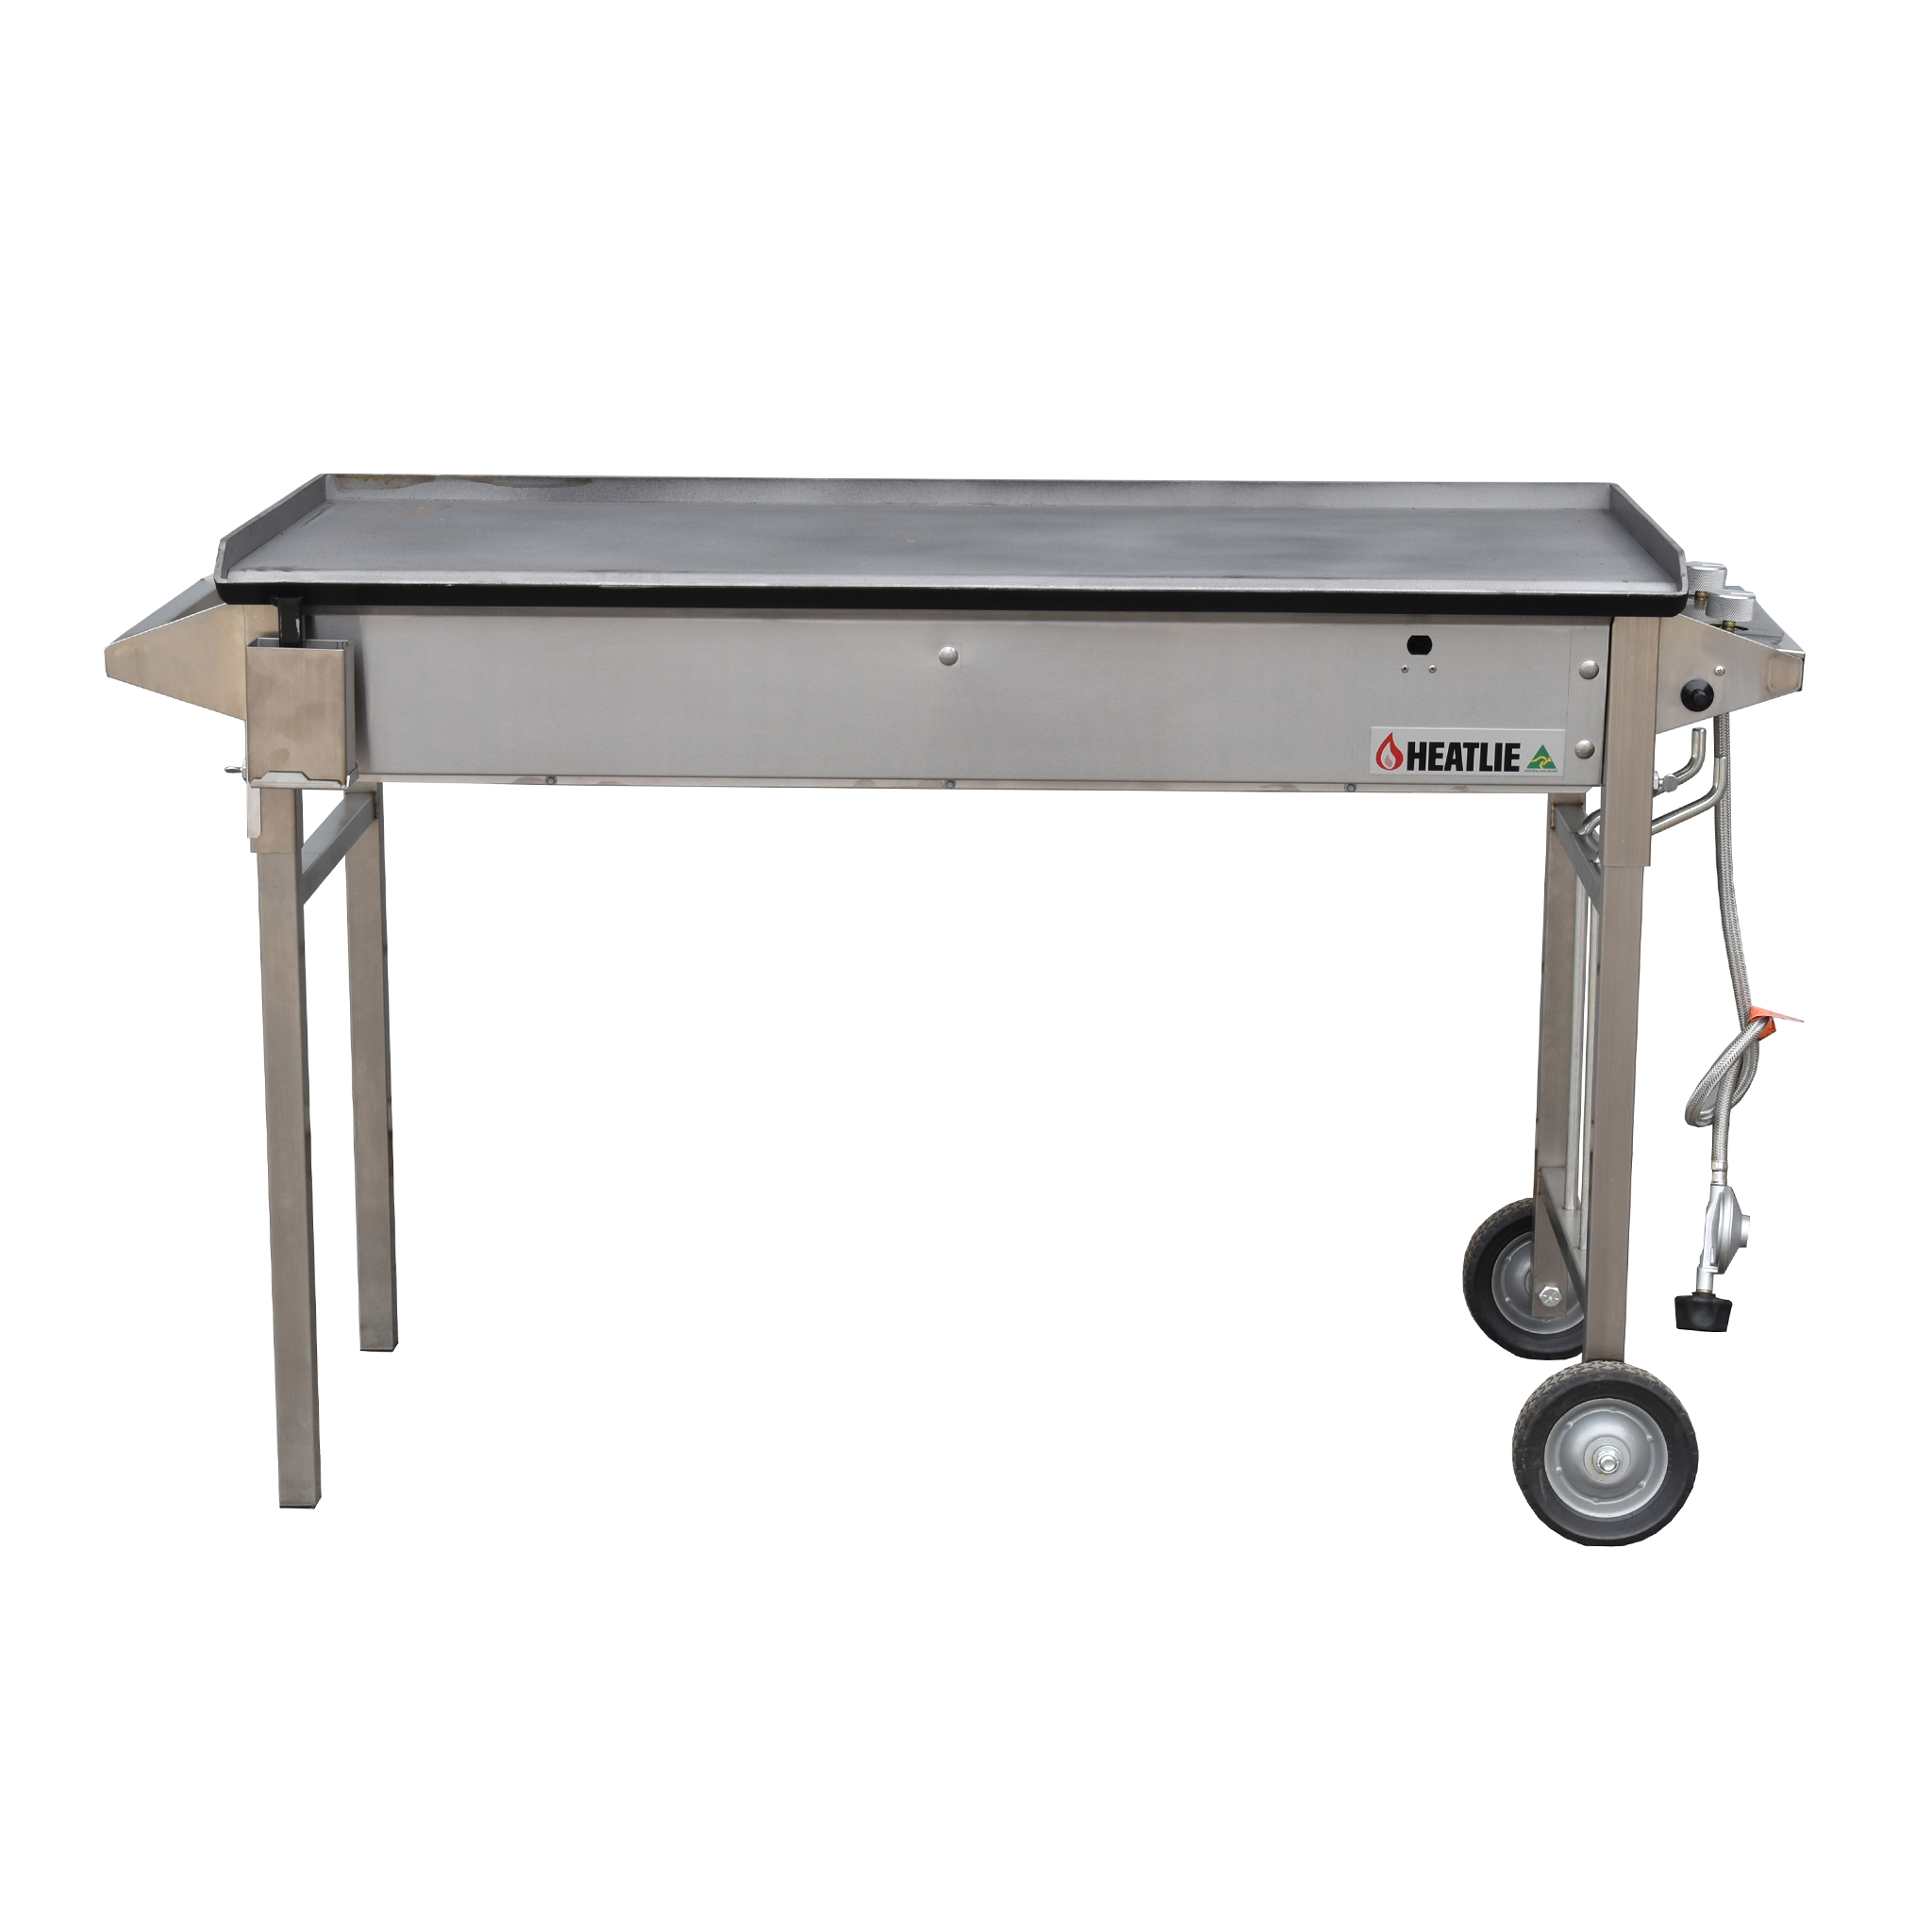
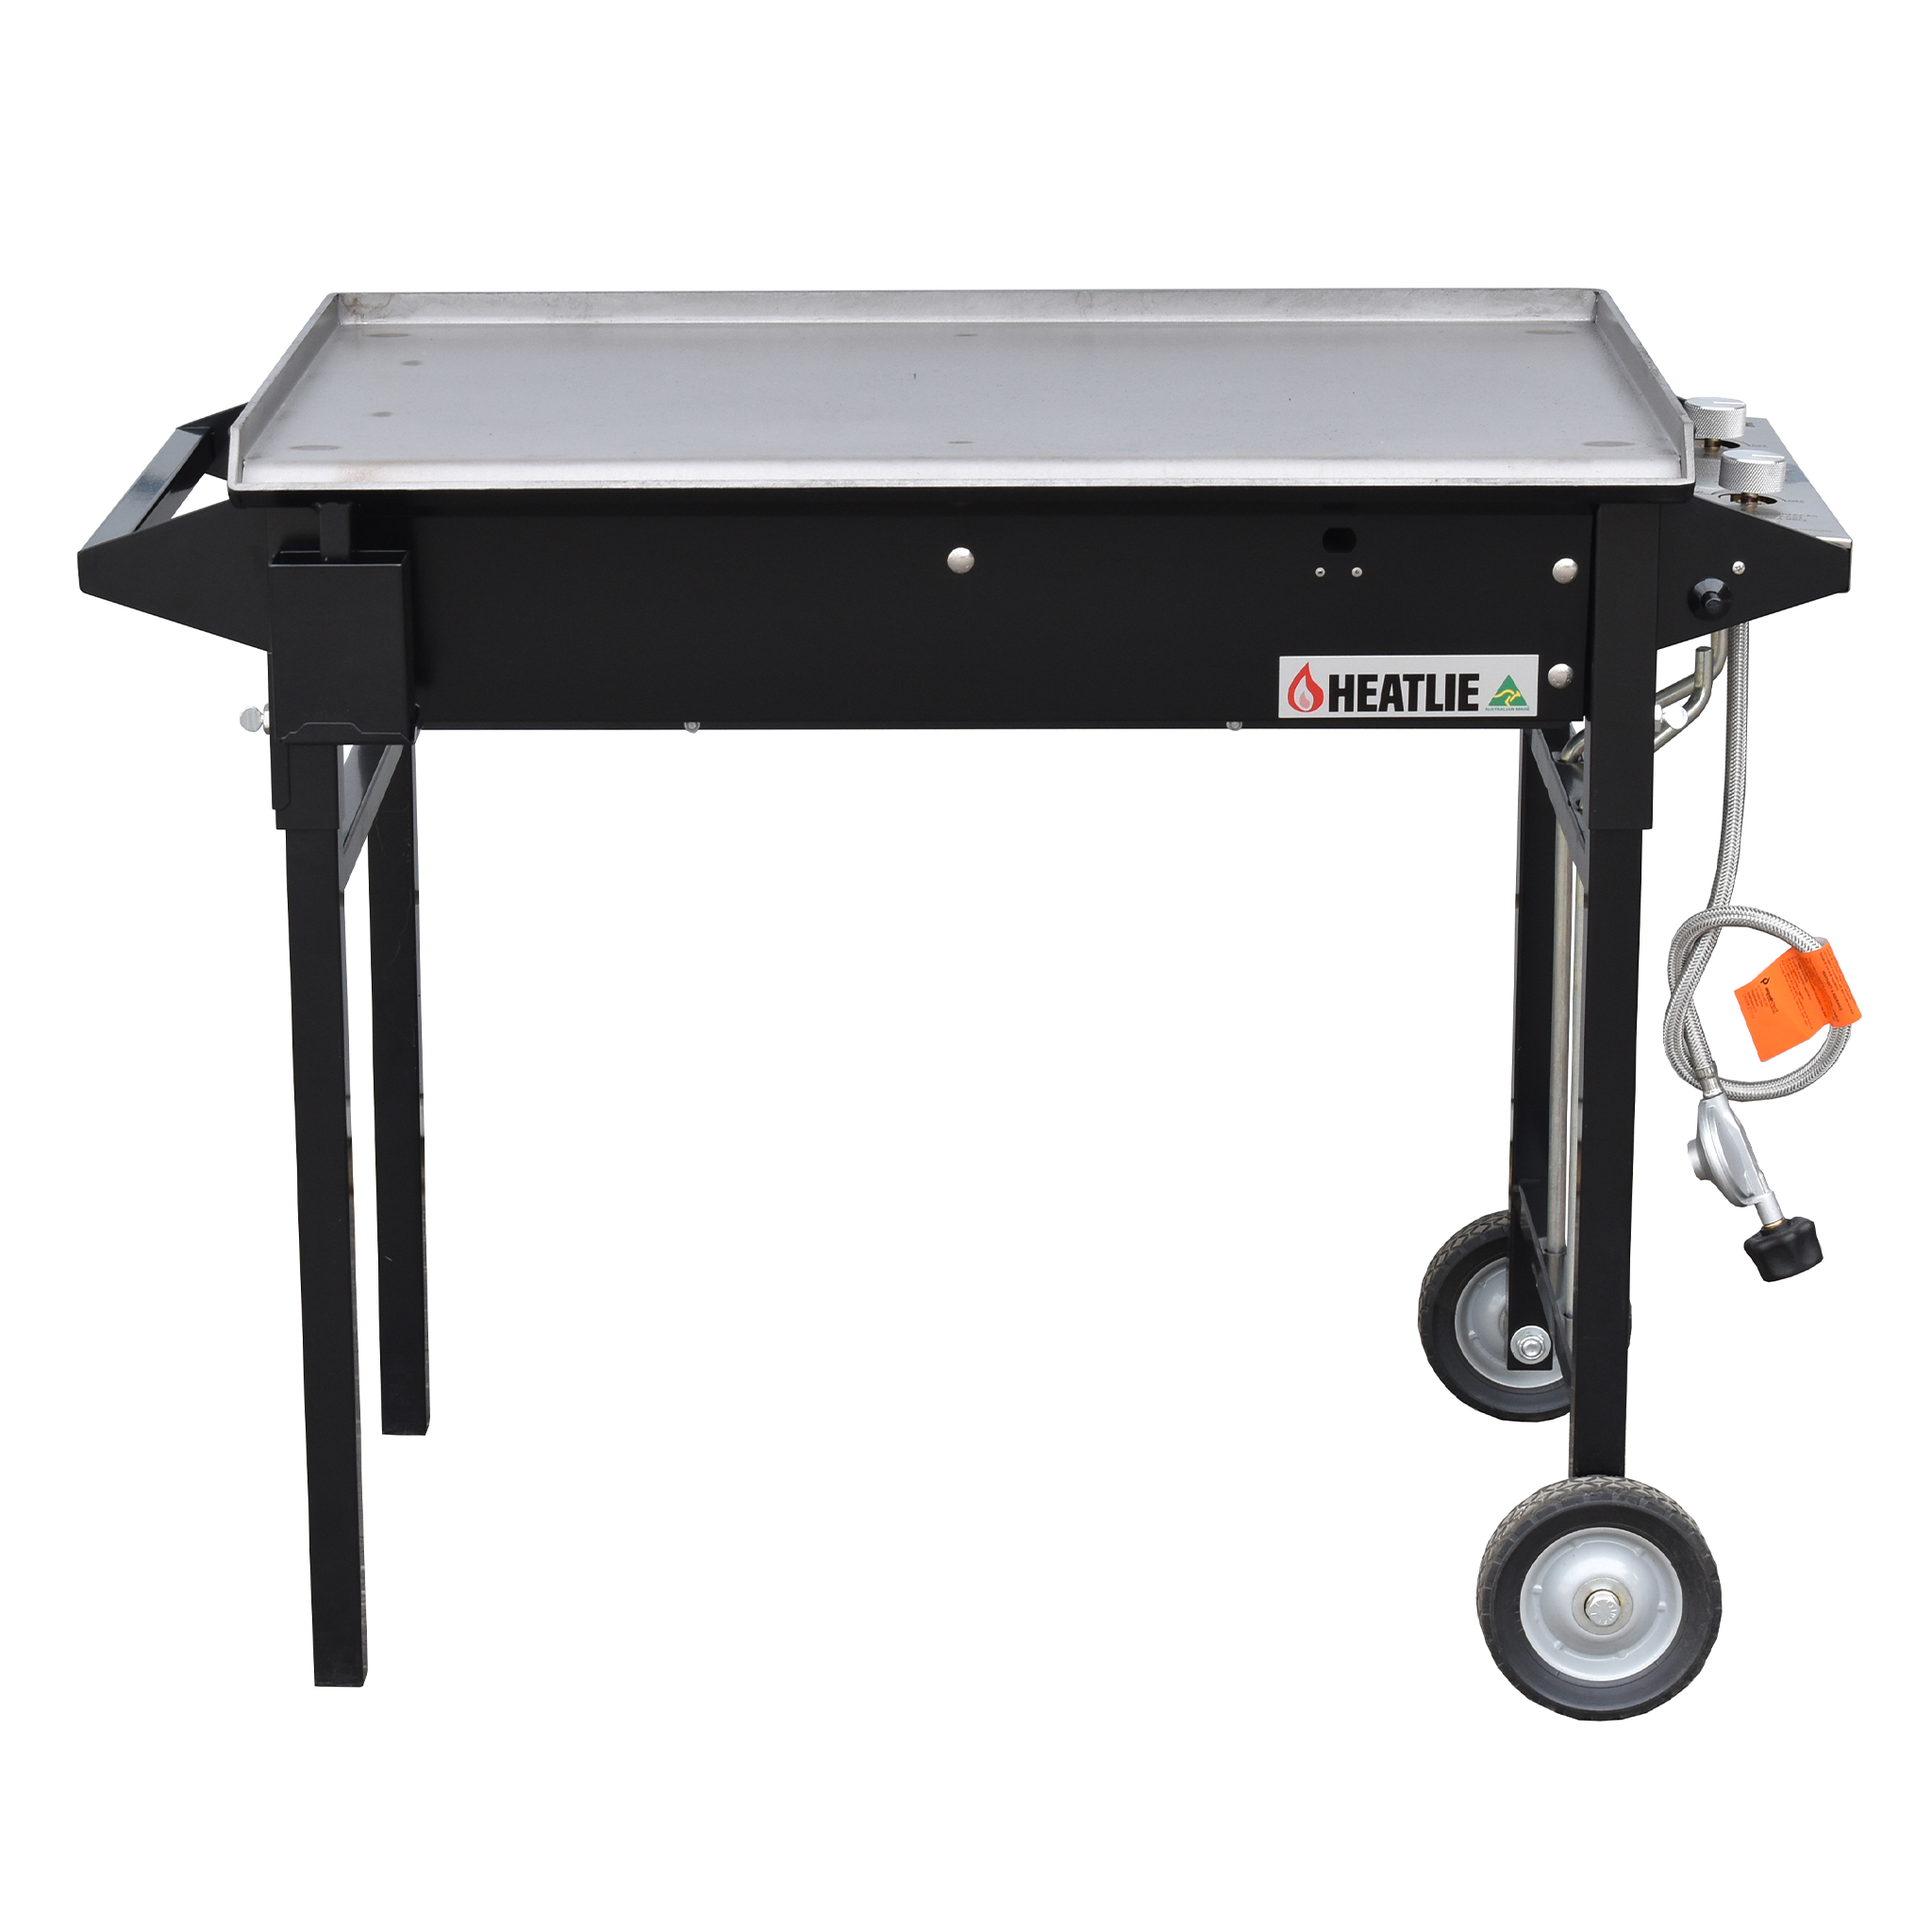
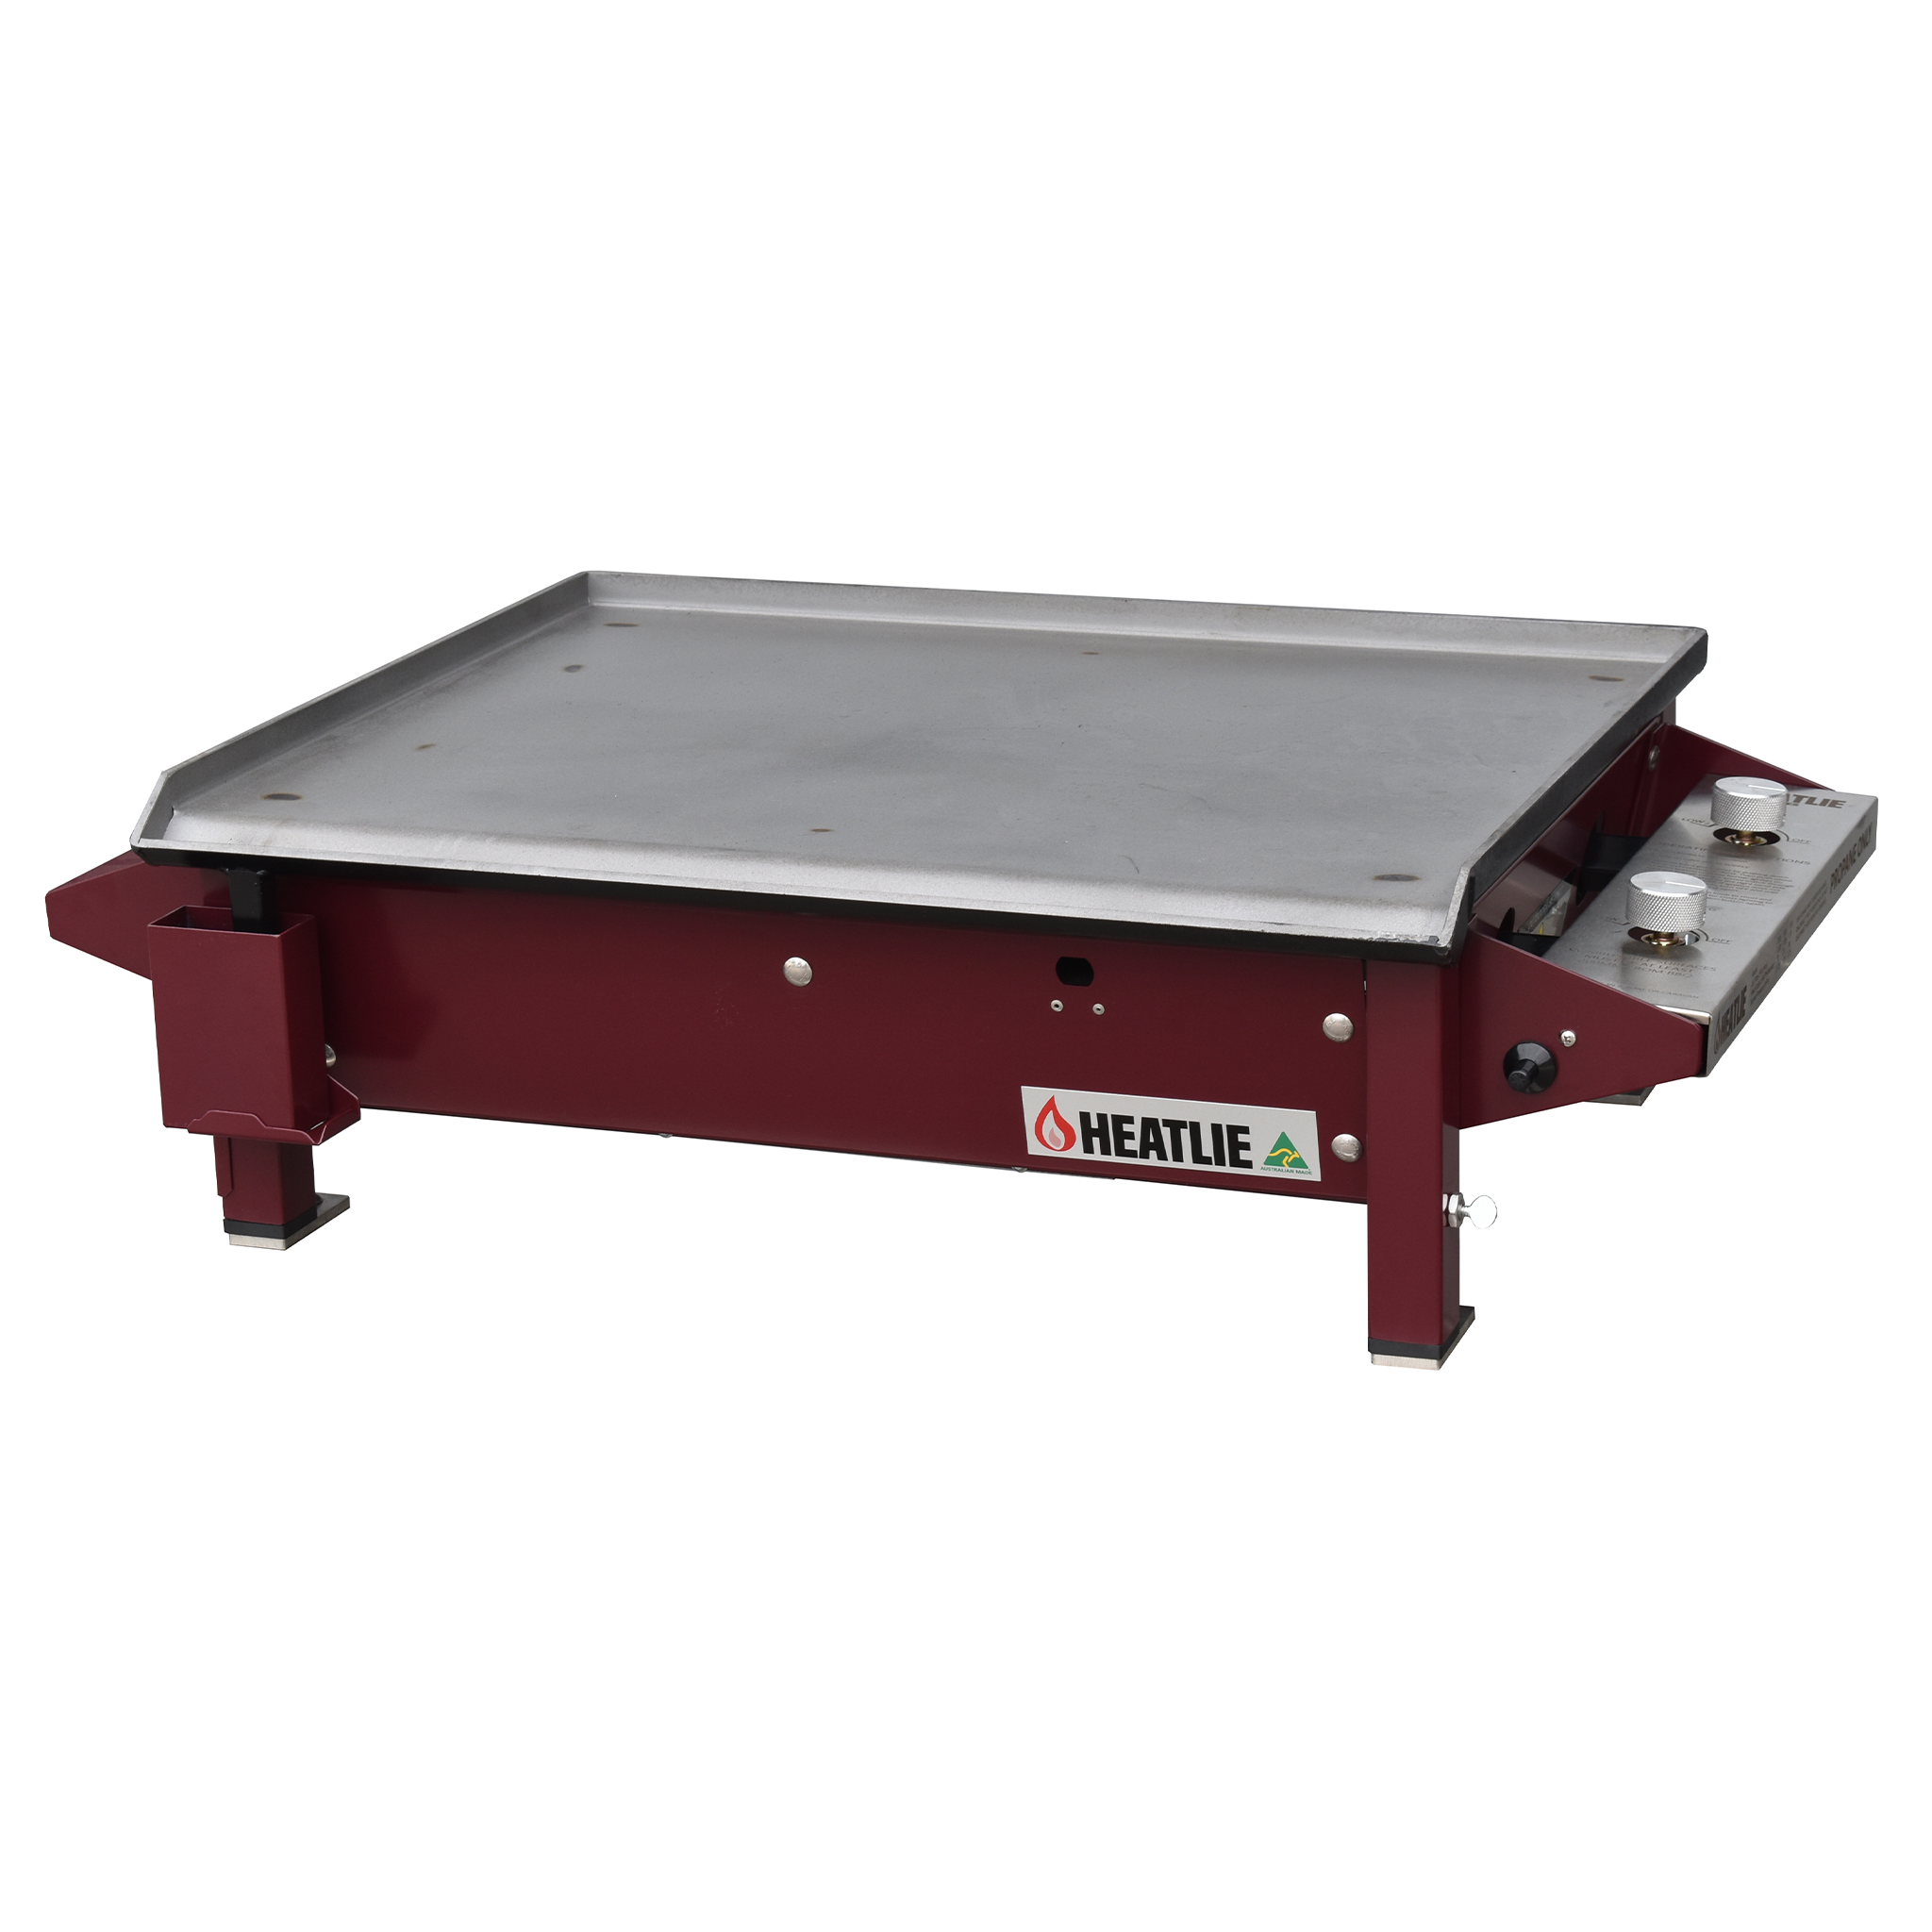
Available in 3 sizes with a choice of stainless steel or powder-coated black or claret finish, you're bound to find a Heatlie BBQ that suits your needs, whether that be for casual use at home in the backyard, or heavy-duty commercial use at the local footy club.
Our barbecues are made to order in Australia with a fast turnaround. Further customisation is available with options including; mild steel and stainless steel hot plates, as well as the choice of LPG and natural gas BBQ models - helping you get the most out of your barbecue.
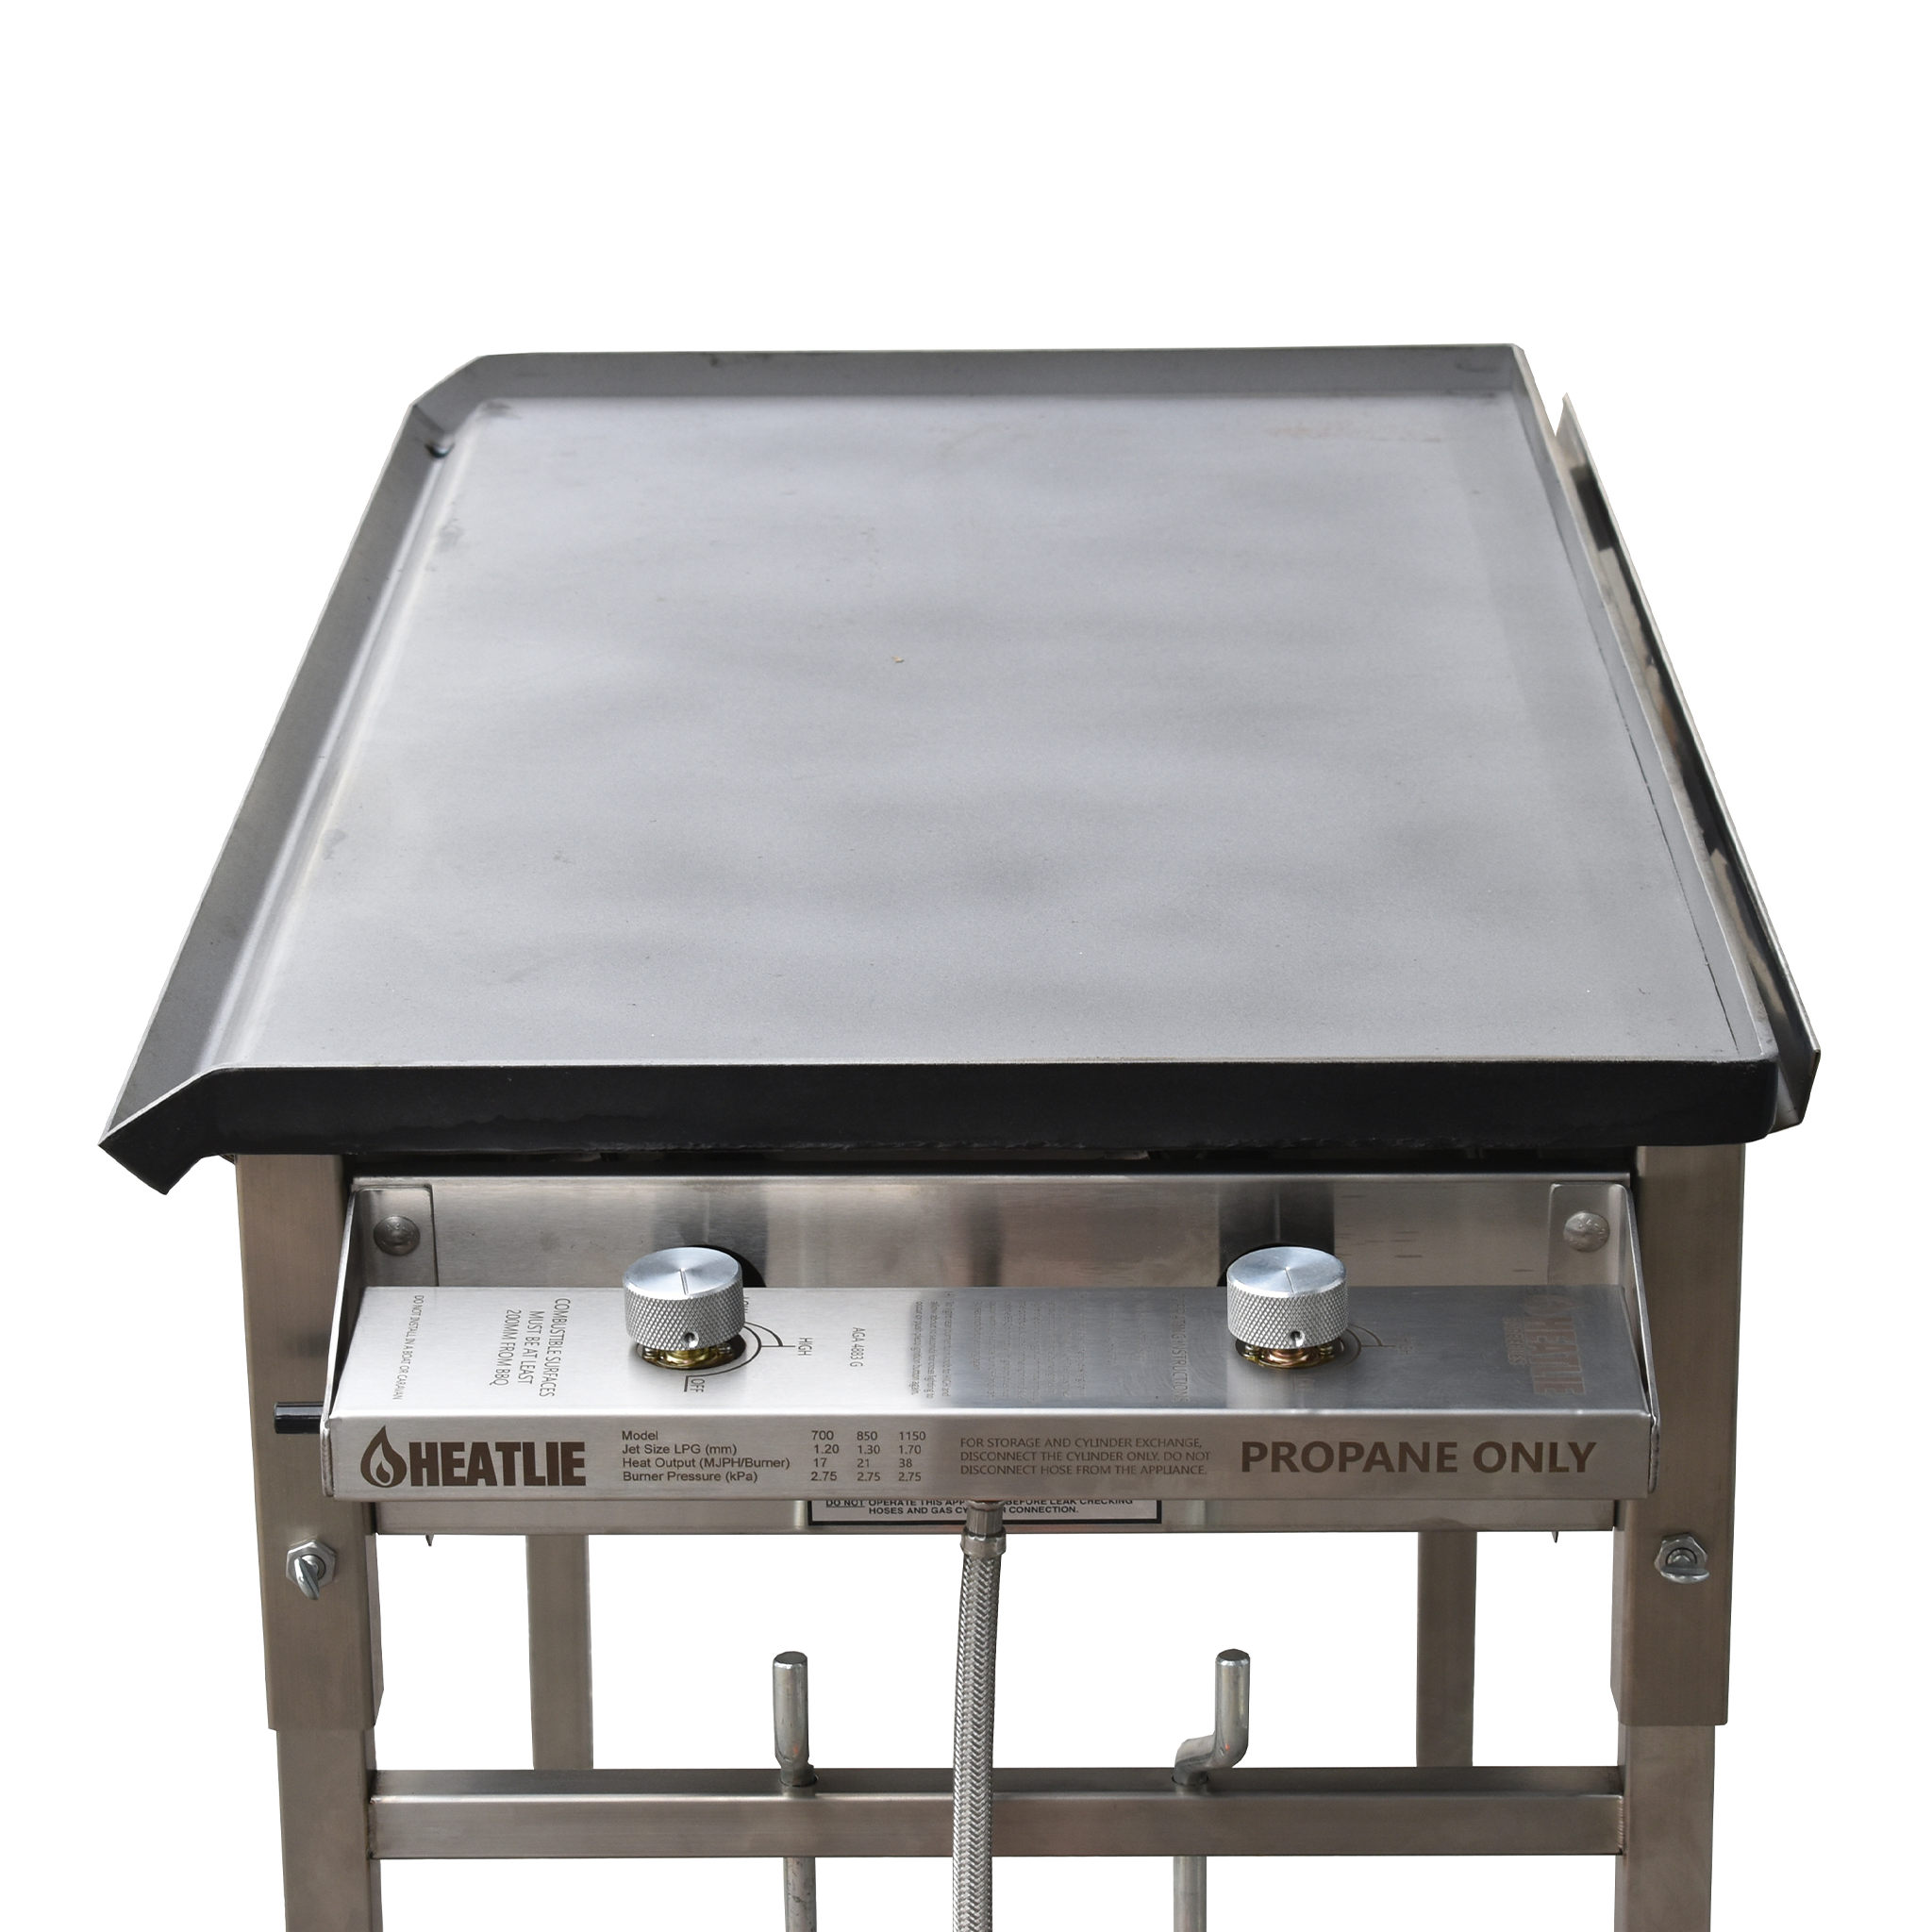
Heatlie BBQs utilise a unique burner system, featuring twin horizontal burners, either mild or stainless steel. The combination of this unique burner layout and the high-quality plate material and thicknesses means far more efficient heat distribution and retention.
With a Heatlie BBQ, you have the luxury of choice. Choose from a range of customisation options to personalise your BBQ. See the "Ordering Guide" tab for an explanation of each option.
Included with all BBQs:
- 1x BBQ
- 1x Hose and Regulator
- 1x Fat Catcher
- 2x Control Knobs
- 1x Ziploc bag with instructions
Optional Accessories Not Included:
- End Table - Add handy extra storage space to your BBQ with end tables on the sides of your BBQ.
- Vinyl Cover - Protect your entire BBQ with a sturdy, heavy-duty vinyl cover. Available for all three sizes, with or without end tables.
- Warming Drawer - The warming drawer will slide in conveniently under your cooking plate, keeping food warm by sealing in leftover heat.
- Shelf - If you prefer your storage underneath the BBQ, the shelf will slot in between the four legs for handy storage space at knee height. (Not compatible with Drain Extension)
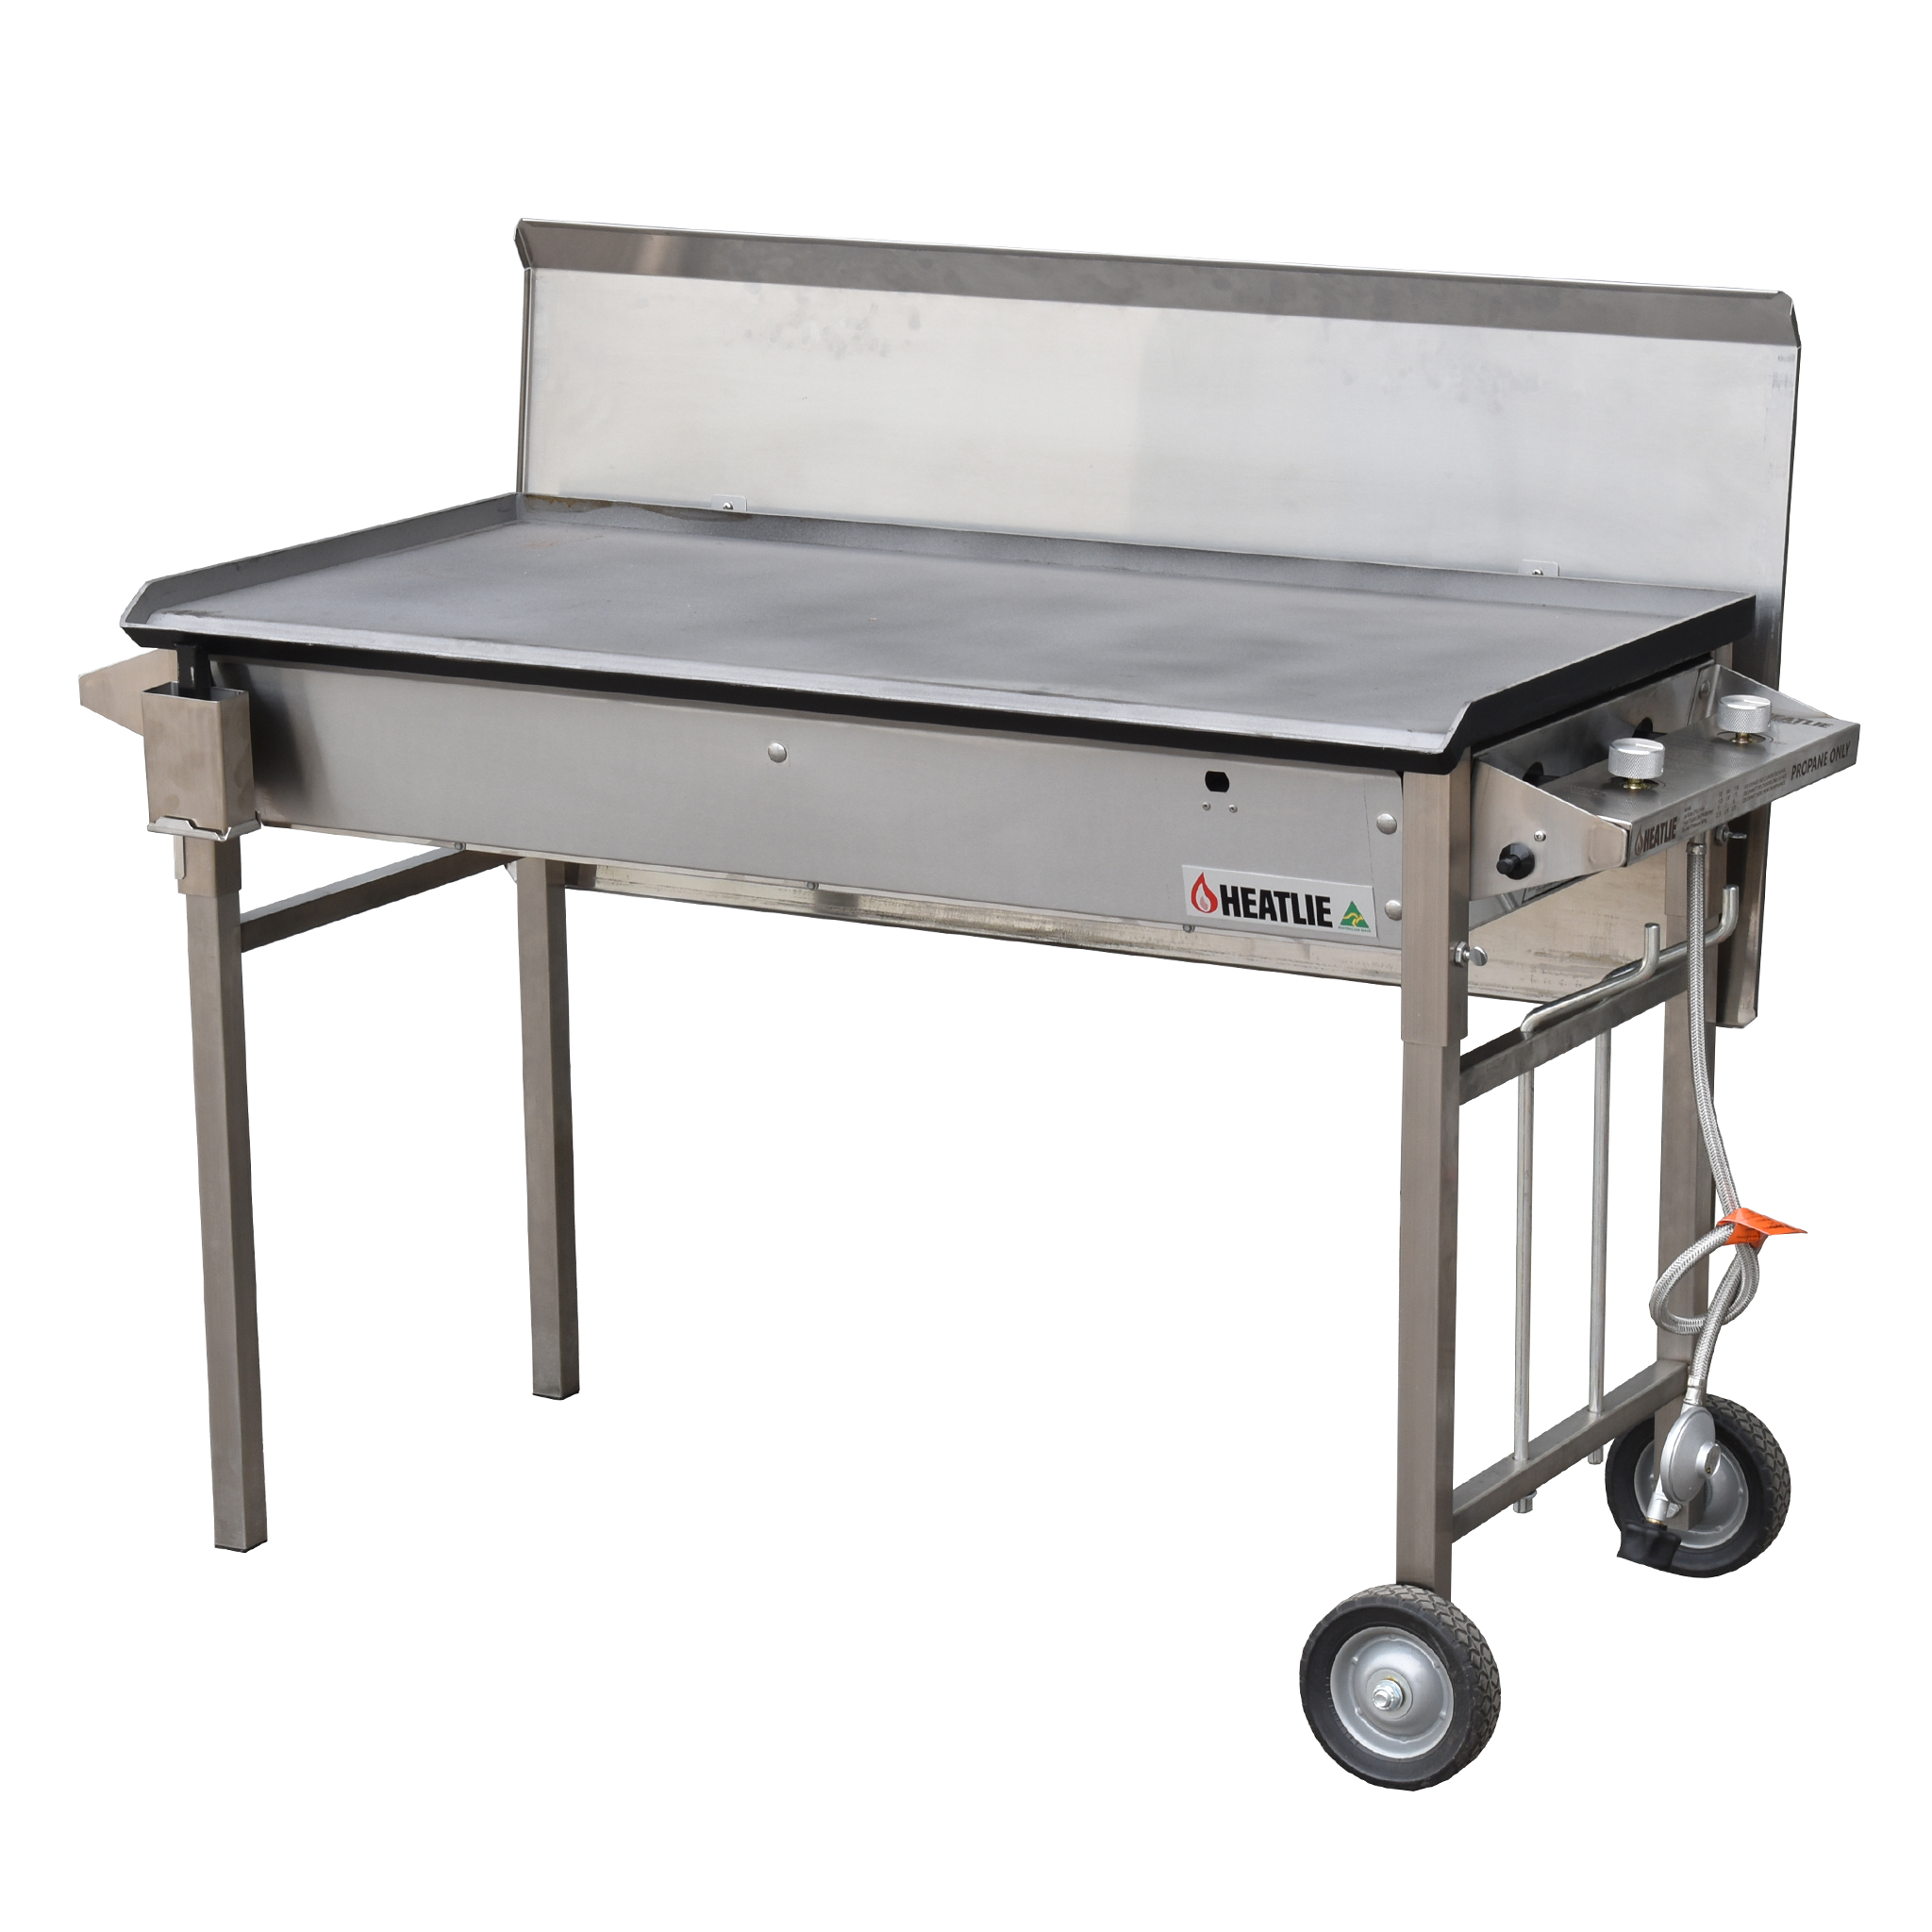
- Splash Back- This will sit neatly around the edge of your BBQ plate and stop grease splatters from ruining surrounding areas.
- Drain Extension - Extend your fat collection drain to a larger container. (Not compatible with Shelf)
- Cleaning Kit - Keep your BBQ clean with Heatlie's heavy-duty cleaning kit. Includes cleaning solution plus scouring pads.
See all our BBQ Spare Parts and Accessories, and check out our accessory packages!
Modifications
There are a few modifications that can be made to the BBQs at the time of build. Note, these are not able to be added via the website, so please contact us for a quote.
- Flame Failure - This is a safety feature that will shut off the gas supply if no flame is detected.
- Timer - A timer that will shut off the BBQ after 11 minutes.
- Reverse Controls - Swap the side your control panel is on. Standard is right hand side, but some find use in having it on the left hand side, especially built in applications.
- Remove Handle - To save space in built in applications, we can remove the non-control panel side handle. There is no price difference for this modification and if ordering online you can simply ask for this in the comments of the order.
Curious to see what others think about the Heatlie BBQ? Check out our customer testimonials to see what our loyal customers have to say!
All LPG BBQs are now being sold with the new LCC 27 fitting. If you have the old POL 21 fitting gas bottle, you will need to get this changed at a Swap'n'go or gas bottle retailer for a bottle with the new fitting to suit the hoses.
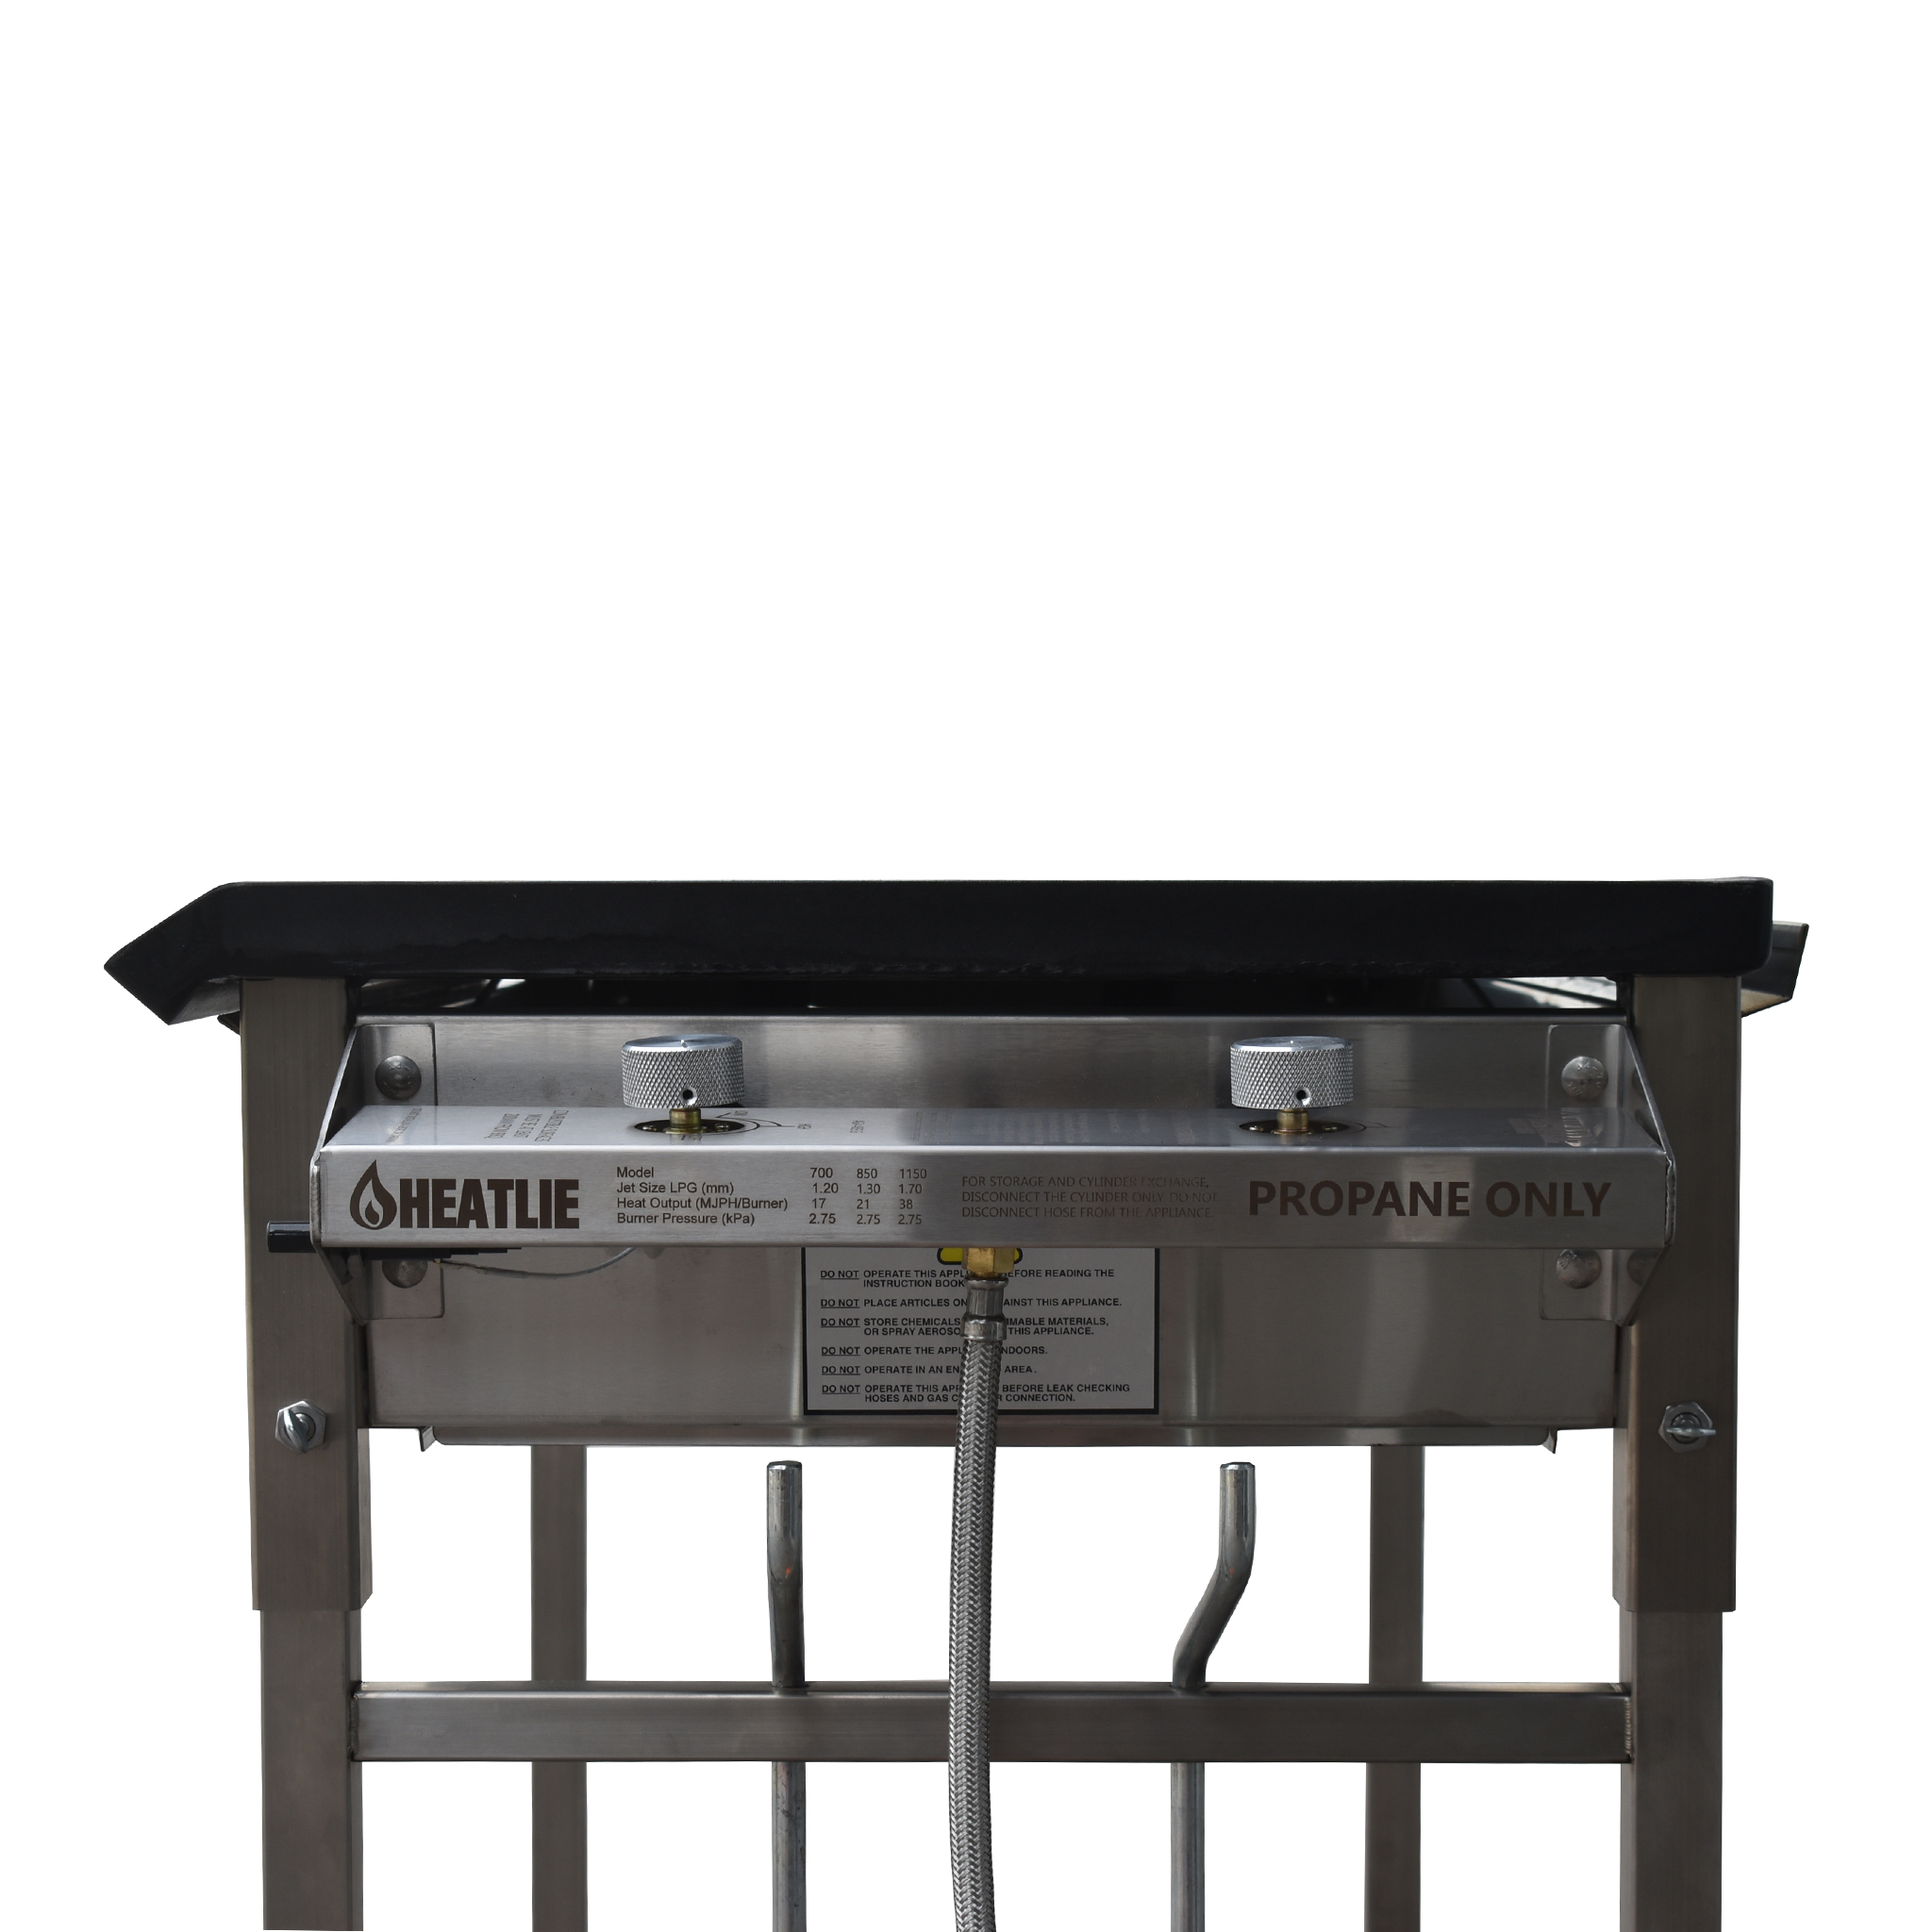
As of late 2024, all BBQs are being supplied with a new laser etched stainless steel escutcheon control panel as opposed to the old stickered ones. Product images will be updated in due time.
Ordering Guide
Build your dream BBQ by selecting your preferred options from the drop-down menus above! As you make selections the price will build until all options have been selected. See below for explanations of each option.
Size
The size of the BBQ is the width of the cooking plate. All BBQs have the same depth and the same principal makeup. 700s are great for casual domestic use, 1150s are perfect for commercial use such as sporting clubs and sausage sizzles, while 850s are in between and could be used for either.
Finish
The finish is the materials and/or colour that the body of the BBQ will be built from. This includes the 4 body panels on the front and the side, the handles and the stub legs. This will also determine the make-up of any mobile legs or lids that are purchased with the BBQ. We do not mix and match between finishes. We offer either 304-grade stainless steel or powder-coated mild steel black or claret.
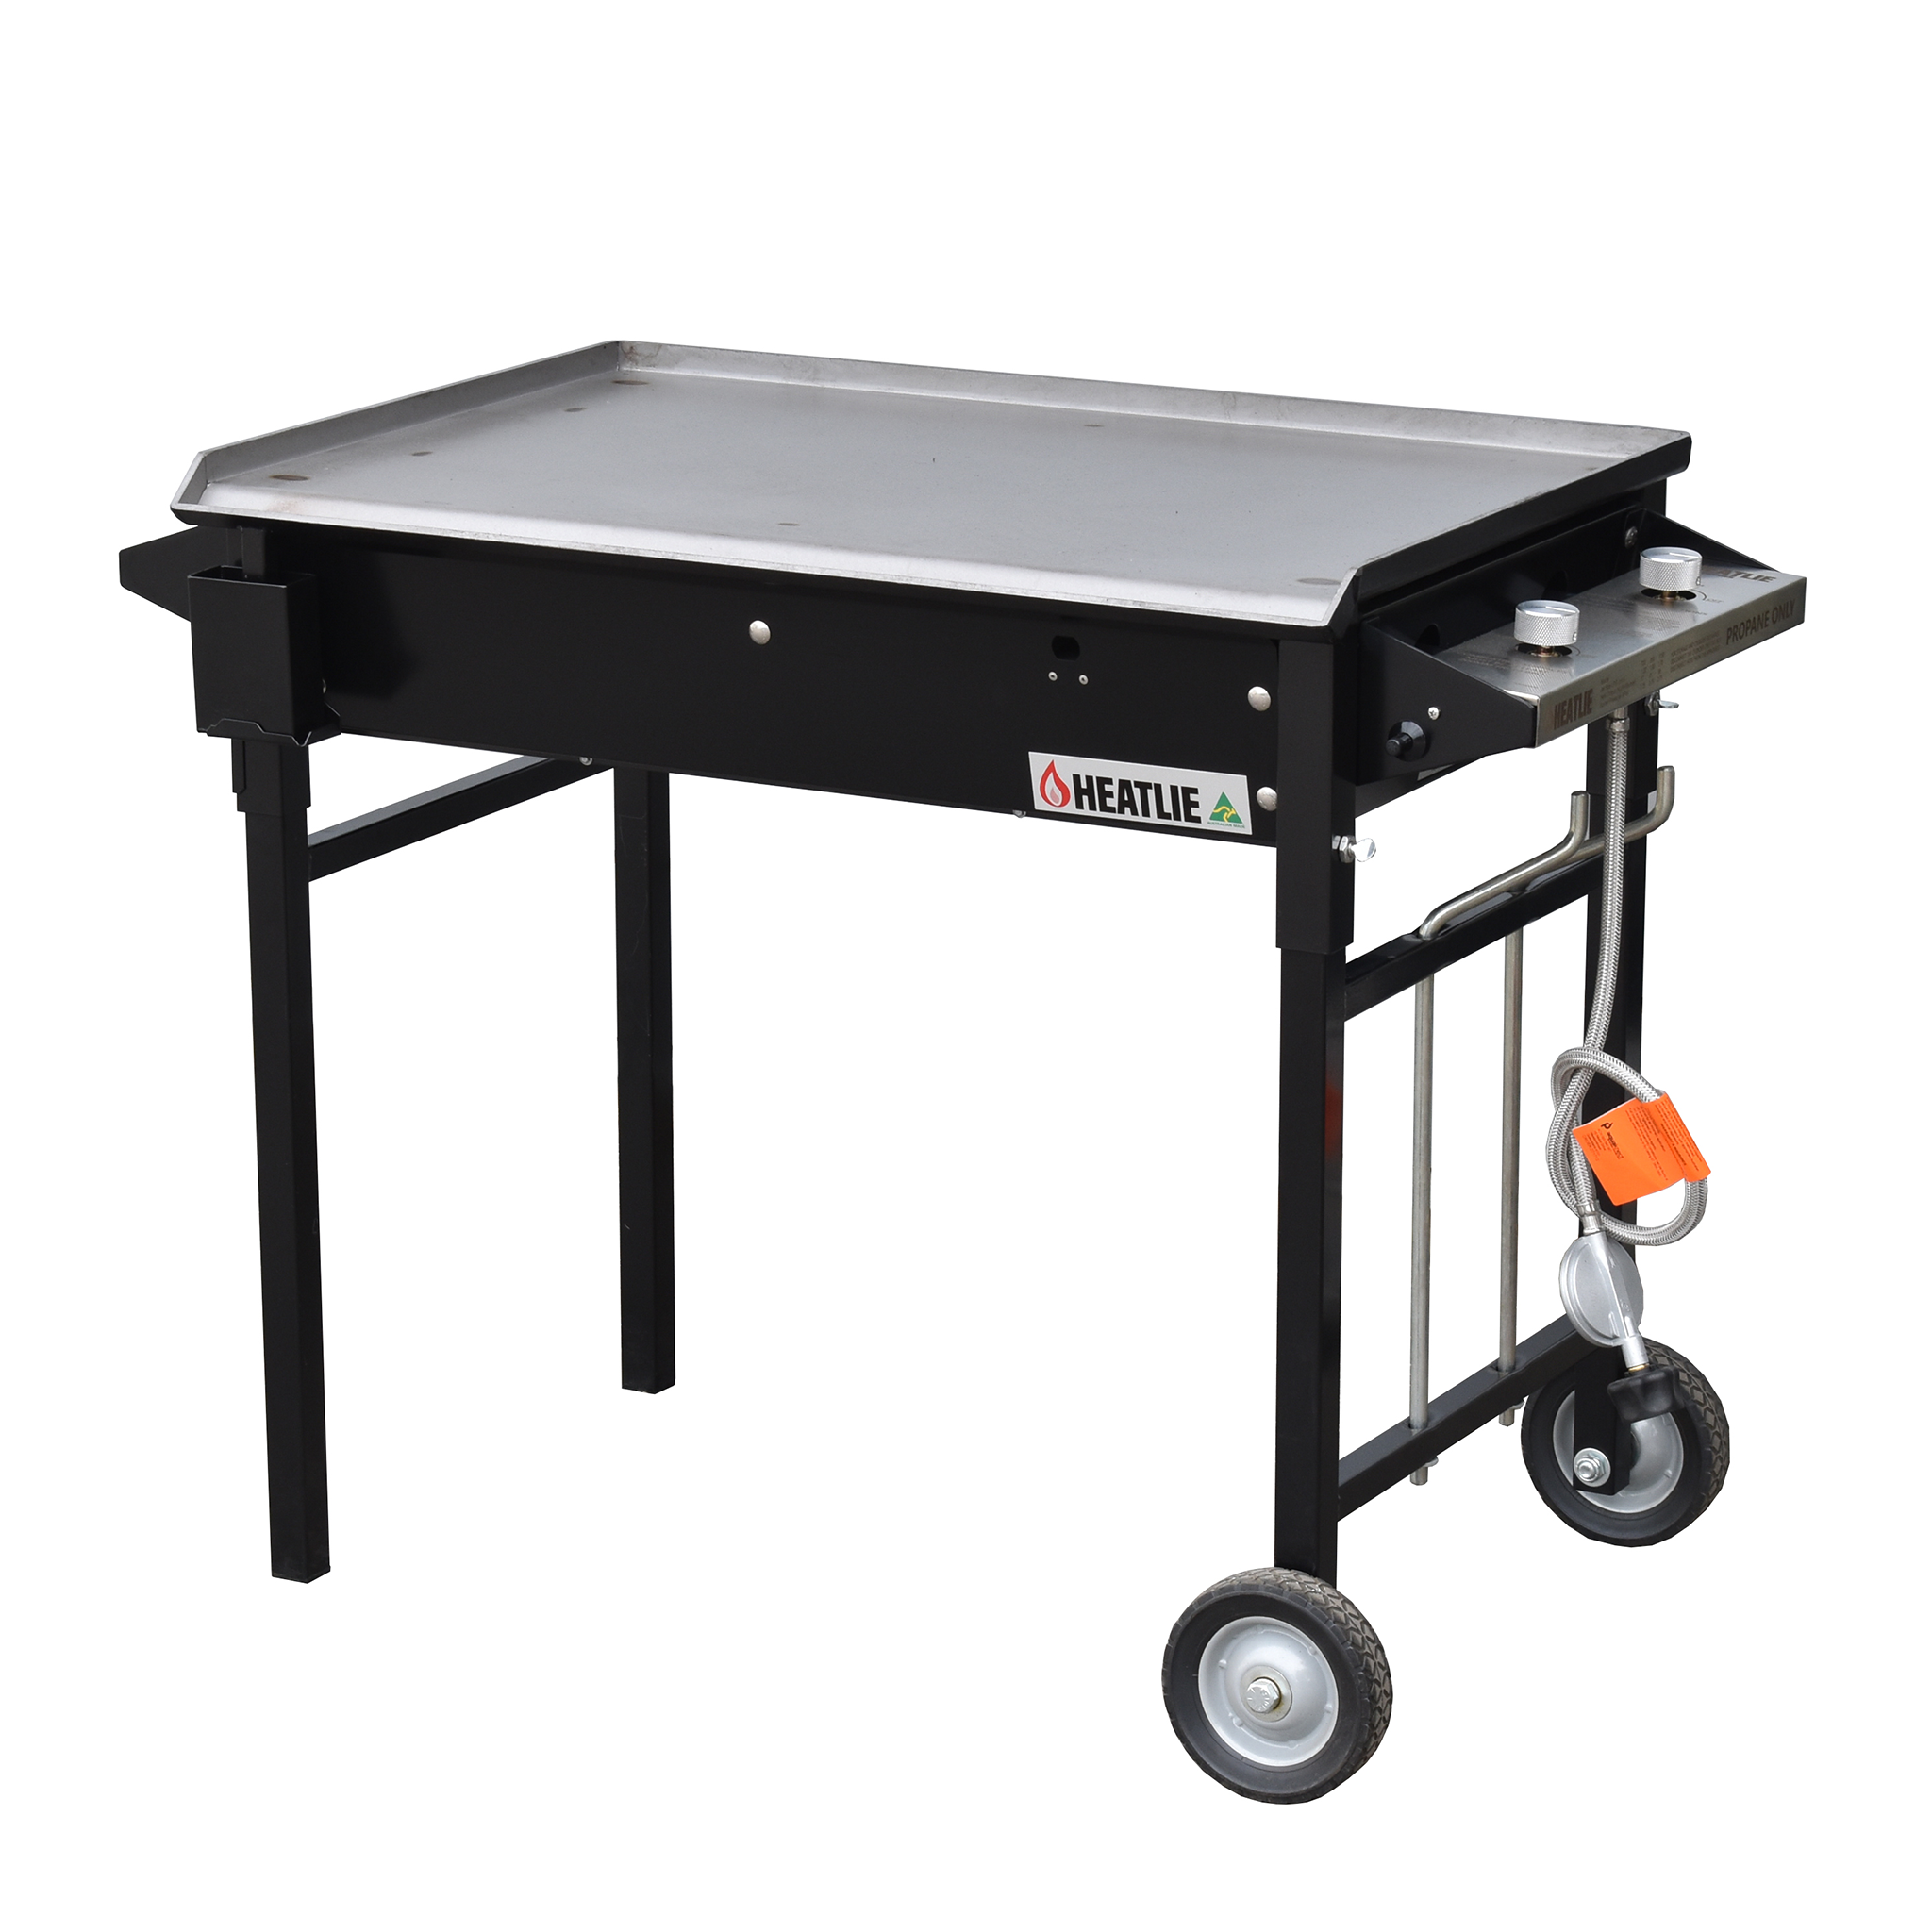
Plate Material
We offer either mild steel or stainless steel for plate materials. Mild steel conducts heat evenly and therefore will provide a more even heat across the whole plate. Stainless steel can be easier to maintain and clean, but concentrates heat over the burners, with cooler spots around.
Plate Thickness
We offer three different plate thicknesses for varying levels of heat retention, control and spread.
5mm - Perfect for casual, domestic and everyday use. Ideal for short, small-quantity cooks.
10mm - Ideal for commercial use, where the BBQ will be left running for long periods, cooking large quantities of food e.g. sausage sizzles and food services.
20mm - The ultimate commercial cooking plate that will hold heat exceptionally well over time e.g. all-day catering events or food production (Only available in mild steel).
Burner Material
Choose between mild or stainless steel for your burner material. Stainless will last a lot longer due to its corrosion resistance, however, you can still expect a decade or so from mild steel powder-coated burners.
Gas Type
The BBQ will come ready to go for Natural Gas or LPG. This can be changed later on down the track by a gas fitter with a gas conversion kit. We do not supply gas bottles.
Mounting
Mobile BBQs come with our standard leg kit with wheels on the right side and fixed legs on the left side. This makes for an easily transportable BBQ. The material/finish will be matched to that of the BBQ body that you select.
Built-in will be supplied with security feet inserted into the leg stubs so you can bolt the BBQ down onto a benchtop surface. No leg kits are supplied with built-in models. See the "Downloads" tab for more information on built-in requirements.
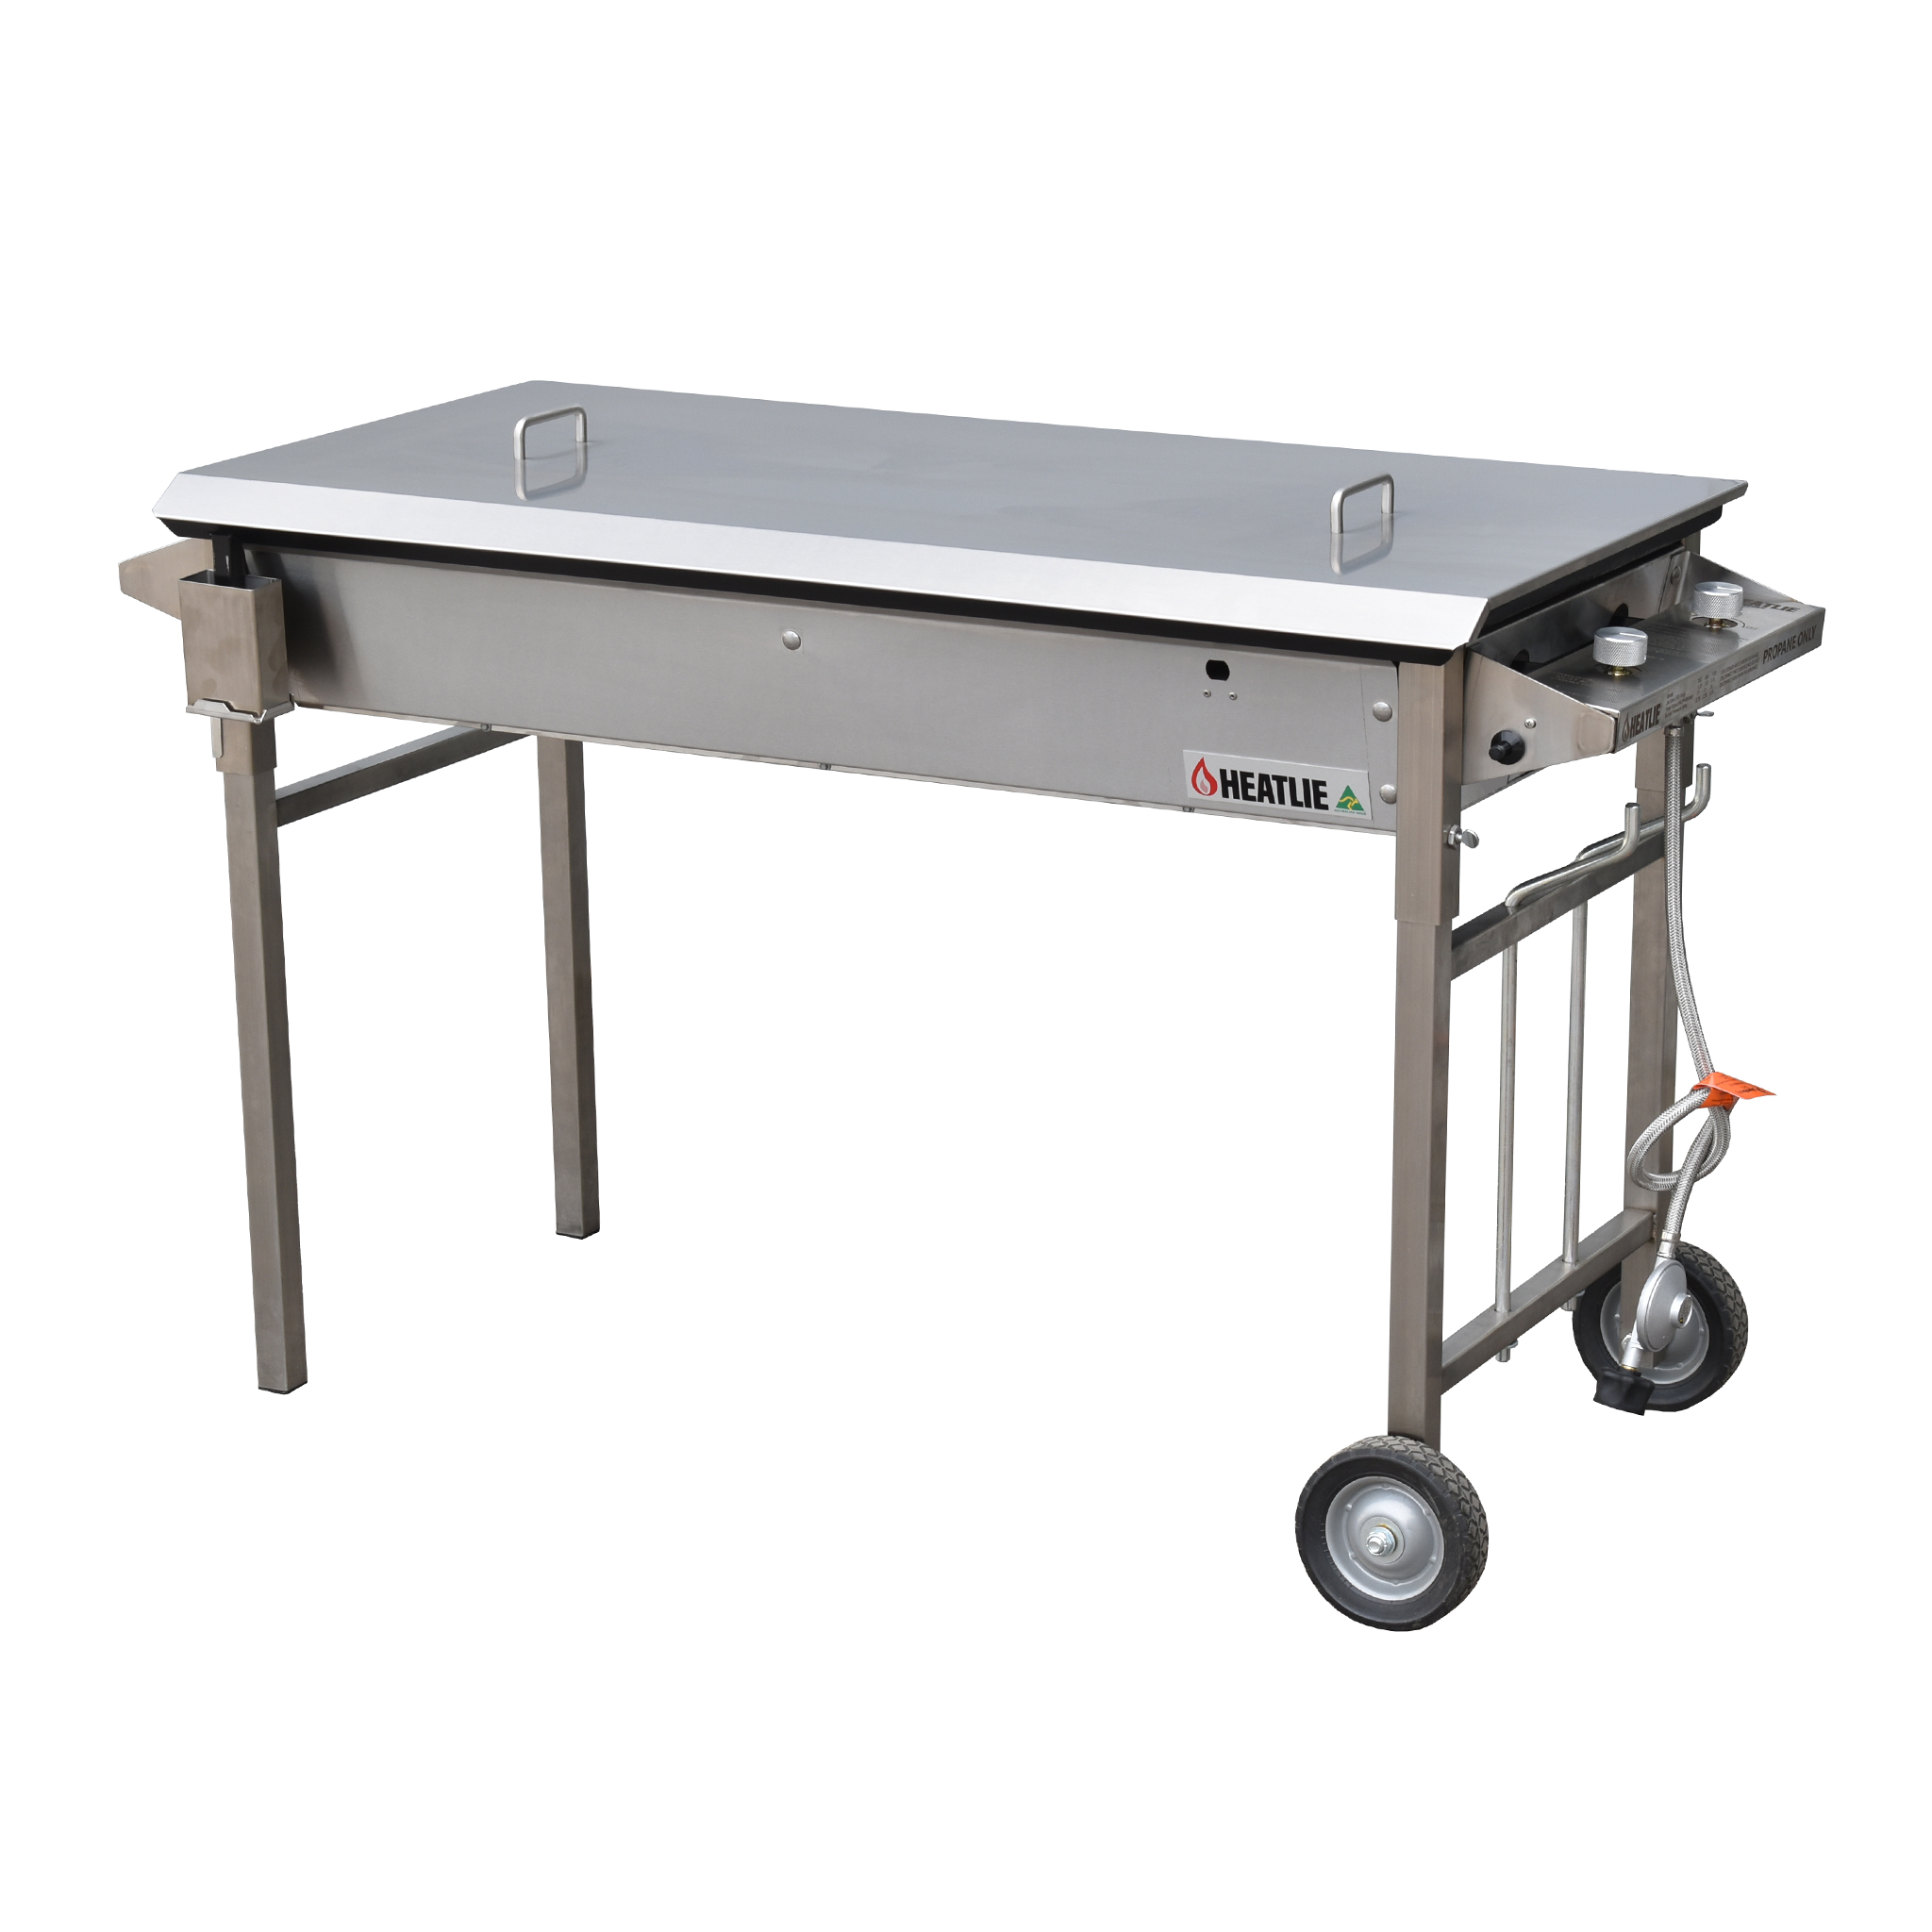
Lid
Choose whether to include a lid or not. Lids will be supplied in the same colour/finish as the BBQ.
Specifications & Dimensions
| Dimensions & Weight | 700 | 850 | 1150 |
| Cooking Area | 700mm x 520mm | 850mm x 520mm | 1150mm x 520mm |
| Total Unit Size | 920mm x 595mm | 1070mm x 595mm | 1375mm x 595mm |
| Height (w/o Legs) | 250mm | 250mm | 250mm |
| Width (w/o Left Handle) | 810mm | 960mm | 1265mm |
| Weight (w/ 5mm Plate & Legs) | 50kg | 60kg | 75kg |
| Weight (w/ 10mm Plate & Legs) | 66kg | 79kg | 100kg |
| Leg Kit Weight | 9kg | 9kg | 9kg |
| Gas | 700 | 850 | 1150 |
| LPG Jet Size | 1.20mm | 1.30mm | 1.70mm |
| Natural Gas Jet Size | 1.90mm | 2.10mm | 2.65mm |
| LPG Heat Output (per Burner) | 17 MJ/hr | 21 MJ/hr | 38 MJ/hr |
| Natural Gas Heat Output (per Burner) | 17 MJ/hr | 20 MJ/hr | 33 MJ/hr |
| LPG Heat Output (Total) | 34 MJ/hr | 42 MJ/hr | 76 MJ/hr |
| Natural Gas Heat Output (Total) | 34MJ/hr | 40 MJ/hr | 66 MJ/hr |
| LPG Burner Pressure | 2.75 kPa | 2.75 kPa | 2.75 kPa |
| Natural Gas Burner Pressure | 1.00 kPa | 1.00 kPa | 1.00 kPa |
|
Body Material |
Mild Steel/Stainless Steel 304 |
| Body Finish | Powder-coated/Horizontal Brush |
| Colour (powder-coated models) | Satin Black/Claret |
| Plate Material | Mild Steel/Stainless Steel 3CR12 |
| Plate Thickness | 5mm/10mm/20mm |
| Burner Material | Mild Steel/Stainless Steel 304 |
| Burner Type | Horizontal Ribbon |
| Number of Burners | 2 |
| Fuel Type | Gas |
| Ignition Type | Piezo |
| Control Knob Location | Right-hand side (standard) |
| Mounting | Mobile cart with two wheels/Security feet |
FAQs & Troubleshooting
What is the BBQ plate made of?
The BBQ plate is made from either mild or stainless steel. Mild steel is a better conductor of heat and will spread heat more evenly across the plate, while also holding and retaining heat better. The stainless steel is not like that of the external panels and is a grade called 3CR12. This is the best form of stainless steel for cooking but does still lack the heat spread and retention that mild steel carries.
It is important to note that both mild and stainless steel plates can rust if not seasoned properly.
Stainless Steel Vs Mild Steel Cooking Plates
Do I need to season the plate?
Seasoning the plate will stop food from sticking and give you a better cooking surface, protecting the steel from corrosion. See our guide to seasoning your BBQ plate here.
Why is my BBQ plate hotter on the left hand side of the plate?
This is typical with gas BBQs as the gas will build up towards the far end of the burner, resulting in a higher flame on this end. There is little you can do to stop this. We recommend using it to your advantage by cooking foods that require high temps in this spot and cycling food around the plate as you cook.
Why has my hotplate discoloured?
This is a normal occurrence with mild or stainless steel hotplates after a period of time and should be no cause for concern as it will provide a better cooking surface. To maintain the shininess of the stainless steel hotplate, we recommend thoroughly cleaning the hotplate with non-caustic cleaning products after each use. Please note this will take an incredible amount of elbow grease and usually is not worth it.
Why are there dark splotches on my brand new Heatlie hot plate?
These are weld marks and are unavoidable in the manufacturing process. They do not in any way affect the construction or usability of the plate. As you begin to cook on your plate they will disappear into the seasoning and general discolouration of the metal.
My BBQ won't light?
Gas supply problem
- Turn the knob slowly prior to ignitor clicking so gas has time to enter the burner
- Check cylinder valve is open
- Check gas bottle is not empty
- Check hose is connected at the fitting
- Check natural gas line is functional and turned on
LCC 27 Regulator safety switch
Performing a reset of the regulator.
Due to the new safety shut off feature, we've noticed a few issues regarding low flames on BBQs. This can happen if the BBQ is not shut down properly. Once you've finished cooking, you must turn the BBQ off at the knobs first, then turn the gas bottle off. If done in reverse, or if you don't turn your knobs off at all, it can lead to problems the next time you go to light the BBQ. If this happens, it may appear as though the flame is on low, despite your knob being on high. To fix this, simply reset your regulator by following these steps.
- Turn your BBQ knobs to off position
- Turn gas bottle off
- Completely unscrew hose fitting from bottle
- Turn knobs on to clear lines of gas
- Return back to off position
- Screw hose fitting back onto bottle
- Turn on bottle
- Light BBQ as normal
The crucial part to remember is that the knobs needs to always be returned to the off position once you finish cooking. We do not recommend leaving your knobs in the on position at all times.
The electrode is too far away from the burner
- Electrode wire needs to be 3-5mm away from the burner and directly over an open slot
The electrode is not sparking
- Ensure leads are connected securely to the piezo ignitor
My BBQ lights but does not stay on?
Gas control valve problem
- Ensure the knob turns freely and is on HIGH to light
The thermocouple is not positioned properly (flame failure BBQs only)
- The thermocouple needs to be positioned in the flame, 3-5mm above the burner slots
Environmental issues
- Trying to light the BBQ in a highly windy area can sometimes prove to be ineffective. Try to use the BBQ in an area shielded from winds that can blow the flame out.
Why is my flame low, excessively yellow and/or depositing soot on the underside of the plate?
Gas supply problem
- Low pressure may result from the gas cylinder being close to empty. Change to a full gas cylinder or perform a regulator reset (instructions above).
Blocked burners
- Clean burners by blowing high-pressure air through the burner or with a wire brush
- Inspect the gas valve for blockage caused by insects or spiders.
The burner flame is starved of air
- Ensure the BBQ is ventilated properly and operating in an outdoor area
How do I light my BBQ if the piezo ignition is not working?
Light the front burner using a 40mm match through the porthole, located on the right-hand side of the BBQ front panel.
How do I fix my piezo ignitor?
Look under the BBQ at the leads to the ignitor – are they attached? If not, you can reattach the leads to the igniter by placing your hand up underneath the BBQ. If the lead is still loose, pinch the ends together with a pair of pliers. If the electrode probe is not sitting 3-5mm directly over an open burner slit, it will not spark. A new Piezo kit can be ordered from the spare parts section of our online store.
I plan to cook on a commercial basis, which BBQ should I buy?
If you're looking to use your Heatlie BBQ for commercial reasons, i.e. catering, fundraisers, sausage sizzles, or food service - it is highly recommended that you order a 10mm thick, mild steel plate. When the BBQ is being used for long periods of time, the 10mm mild steel plate will provide the optimal heat distribution and retention for large amounts of food. We also recommend a stainless steel body finish for ultimate corrosion resistance and durability.
Below is the ideal Heatlie BBQ for this type of use...
Size - 1150
Finish - Stainless Steel
Plate Material - Mild Steel
Plate Thickness - 10mm
Burner Material - Stainless Steel
Gas Type - LPG
Mounting - Mobile Legs
Lid - Yes
Installation & Assembly
Box Contents
Heatlie Barbecue: Barbecue plate and body four thumbscrews.
Leg Kit Box containing:
- 2 wheels
- 1 leg with bottle bracket
- 2 axle assemblies (each including 1 axle, 2×1″ washers, 1x1 washer, 1x1 nyalock nut)
- 1 leg without wheels
BBQ Assembly Instructions
It is important that the leg/wheel kit is assembled first.
Leg/Wheel Kit Assembly
Remove the contents of the Leg Kit Box. To secure wheels on the wheel leg kit:
- Remove all washers and nuts from the stub axle
- Pass axles through the hole at the bottom of the wheel leg so that the axle thread is protruding from the outer side of the leg.
- Place one of the 1″washers on the axle
- Place the wheel on the axle
- Place the other ½” washer on the axle
- Place the other large washer on the axle
- Screw the nyalock nut with the nylon on the external side
- Tighten the nut to the required tension using a spanner
- Repeat the process for other wheels
Barbecue Assembly
Note: If the Warming Drawer is being used, this needs to be fitted now. Please
refer to “Assembly of Heatlie Accessories – Warming Drawer” before commencing.
- Twist out thumbscrews on the corner of the cooktop far enough so as not to interfere with the insertion of the legs.
- The legs with the Gas Bottle Bracket belong at the end where the gas controls are located.
- You will need to either:
- Install legs by pushing them up into the corner stubs of the barbecue.
- Ensure legs penetrate past the thumbscrew level and then tighten the thumbscrews.
- Legs can be slightly raised using thumbscrews to achieve a slight fall on the cooktop for fat drainage.
Once final levelling is achieved keep thumbscrews tightened – this keeps the unit rigid and prevents legs from dropping when moving the unit.
Gas Bottle and Line Fittings
- Gas Bottle: Hang the gas bottle on the brackets provided. The handle at the top of the bottle sits over the bent brackets.
- Regulator: Connect the regulator to the bottle, and the flexible hose to the Barbecue nozzle fitting at the base of the burner controls.
Note: this is a low-pressure appliance and a pressure regulator must be used. - Gas Line Fittings: Use a spanner to tighten the flexible hose to the barbecue (right-hand thread). Do not over-tighten. Tighten the gas bottle connection with your fingers (left-hand thread). Keep the gas line away from potential hot surfaces.
- Leak Test: With the gas line connected to the controller unit – turn the gas on at the bottle and check for leaks. Use soapy water – brush over joints on the gas bottle and connection at the controller unit and watch for bubbles.
Assembly of Heatlie BBQ Accessories
Lid
- Attach the handle to the outside of the protective cover.
- Attach the step bracket to the inside of the cover.
- Put the screw through the hole in the step bracket making sure that the elevated step of the bracket is facing the rear of the cover (this will allow the cover to be used as a windshield when cooking).
- Pass the screw through the cover and into the handle.
- Tighten firmly using a screwdriver.
- Repeat the process for the other side of the handle (for the 1150 model only)
End Table
- End tables can be placed on either side of the barbecue.
- Secure the end table by positioning the mounting support hook over the top edge of the hot plate allowing adjustable feet to rest against the stub leg of the barbecue cooktop.
- Use end table screws to adjust to the desired level making sure that both end table feet are placed against the stub of the barbecue cooktop.
Warming Drawer
- Ensure the BBQ legs have been removed from the BBQ cooktop.
- Turn the cooktop upside down (place it on grass or a non-abrasive surface so as to avoid scratching the cooktop).
- Remove galvanised sheet base by removing the 4 (or 6) screws using a Phillps head screwdriver.
- Remove the drawer from the drawer frame.
- Place the warming drawer frame on the stub legs of the cooktop base.
- Ensure that the back panel of the drawer frame is at the rear of the BBQ and blank the space between the frame and the cooktop body.
- Insert wheel leg (Gas Control end of the barbecue) through drawer frame into stub leg of BBQ until leg cross rail meets drawer frame( ensure that bottle bracket is facing out from the BBQ). Tighten thumbscrews.
- Insert the other leg kit so that the leg cross rail meets the drawer frame. Tighten thumbscrews.
- Turn the barbecue over onto the legs.
- Remove plastic from the base of the warming drawer.
- Insert the drawer into the front of the drawer frame.
Drain Extension
- Hook the drain extension into the drain spout in the front right-hand corner of the barbecue cooktop.
- Drain extension should extend down towards the ground with the angle facing the middle of the barbecue.
- Place a 20-litre drum or similar container to catch fat and liquids when catering for large numbers.