Skip to product information


1/8
Roaster
$6,489.95 AUD
Regular price
Sale price
$6,489.95 AUD
152
Australian Made
Made to Order
Built to Last
Return & Refunds
Heatlie has a 60-day return policy and all returns, cancellations and exchanges will incur a 20% restocking fee and a delivery fee from the place of pick up to the Heatlie factory. Alternatively, you may wish to organize your own transport at your own cost, to return the goods. Any refunds will only be given once the goods have been returned, inspected and are deemed to have...
1. Not been used
2. In new condition without any scratches, dents or marks that may occur through transport and use that will require that product to be refurbished in any way, for re-sale. This includes packaging.
Proof of purchase is always required and this includes a corresponding Serial Number.
Heatlie does not accept change of mind returns, nor will we refund if you have found the same product cheaper elsewhere.
Shipping
Shipping Options
You will only be offered one shipping option for your order. We use two couriers, TNT/FedEx and Australia Post. Depending on the size, weight and volume of your order, you will be offered the corresponding service.
TNT/FedEx - Technology Sensitive express
Australia Post - Parcel Post & Express Post
Shipping Costs
After adding your product to the cart and proceeding to the checkout, you will be prompted to enter your delivery address. From here we use a service that delivers live rates from couriers to provide a price based on order size, weight, volume and your shipping location. Heatlie BBQs has no control over these prices.
Your order may be subject to further fees such as a redelivery fee of $25 if the initial delivery attempt by the courier is unsuccessful.
Order Lead Times
BBQ manufacturing can take several days or weeks to complete. We can not make any promises as to delivery times and lead times. You will receive tracking information once your order has left our premises.
Most orders containing only spare parts/accessories will usually leave us within 1-3 days. This still cannot be guaranteed.
Freight
Heatlie BBQs carries insurance for all goods freighted. Once goods are set down at designated drop off point, they are no longer insured by Heatlie BBQs. Therefore, the customer needs to give clear instructions on where goods are to be delivered. Heatlie BBQs is not responsible for any goods lost, stolen or damaged after they have been signed over to the customer, their designated person or dropped at a stop instructed by the customer, (except in the event of damage which has occurred whilst being freighted as outlined below).
If no person is available to sign or no instructions have been left for the drop off of goods, then the goods may be taken back to the nearest depot and cost to retrieve goods will be the responsibility of the customer. Heatlie BBQs packages all goods appropriately to avoid and or minimize any damage being sustained during freight. Unfortunately, damage can occur which is beyond our control. It is the customer's responsibility to look over the goods when signing for delivery and making a note on the delivery cart note of any damage they perceive.
In the event that no damage was perceived, and the customer has acknowledged that the goods have been delivered in good order and condition. It is the customer's responsibility to unwrap and inspect goods within the first 48 hours of taking delivery. If damage is evident, the customer must notify Heatlie BBQs within this set time, in writing, outlining all damage sustained, accompanied by photographic evidence to this effect.
Heatlie BBQs require the goods to be repacked by the customer to an adequate standard for freight. In most cases, Heatlie BBQS will have damaged goods refreighted back to our factory, where goods will be inspected. In cases where claim of damage is proven - replacement of same will be sent back to customer. All goods must be returned in same condition as sent, except for damage sustained in freight. Claims of damage are limited to damage to goods only.
Heatlie BBQs does not cover any consequential loss or damage suffered by the customer as a result of the damage of goods.
Ordered Goods
It is the customer's responsibility to check over their goods within 48 hours of receiving them to ensure that the item/items are exactly what was ordered. Faulty items need to be sent back to Heatlie BBQs.
Heatlie BBQs require the goods to be repacked by the customer to an adequate standard for freight. In most cases, Heatlie BBQs will have goods refreighted back to our factory, where goods will be inspected. All goods must be returned in same condition as sent. Heatlie BBQs will view and determine if item is faulty or not what was ordered. If the item is deemed to be in good working order, not damaged and represents what was ordered then the cost of freight will be at the customer's expense.
Change of mind and not liking what was ordered from the website is not deemed as sufficient for return or refund. If Heatlie BBQs is notified within 48 hours of customer receiving goods and an item is deemed to be either faulty or not what was ordered, then Heatlie BBQs will make all reasonable efforts to correct the situation.
INSPECT YOUR DELIVERY FOR DAMAGE
Your package should arrive securely wrapped. If this is not the case please take a photo and contact us immediately.
INSPECT YOUR ORDER
Verify: What you have received is what you have ordered.
MAKE SURE THIS IS NOT THROWN OUT IN THE PACKAGING.
Inspect: All items for defects or damage.
If defects or damage has occurred:
Notify info@heatlie.com.au within 48 hours of delivery being made to ensure we are able to act promptly. Include detailed photos, details of what has occurred and the sales invoice/order number.
WE WILL NOT ACCEPT any claims for damaged goods after 10 days from receipt of goods. Goods must be installed and used within 8 weeks of receipt.
Finally, enjoy using your new BBQ!
Warranty
Heatlie BBQs warrants its products to be free of original manufacturing defects in material and workmanship, for a period of ten years from the date of purchase for domestic use and one year for commercial use. Any claim must be made within this time, dating from the date of purchase.
Our goods come with guarantees that cannot be excluded under the Australian Consumer Law. You are entitled to a replacement or refund for a major failure and for compensation for any other reasonably foreseeable loss or damage. You are also entitled to have the goods repaired or replaced if the goods fail to be of acceptable quality and the failure does not amount to a major failure.
This warranty is subject to the following conditions:
- The warranty applies to the original owner, so long as the original date of purchase can be verified or Warranty Card has been completed and returned to Heatlie Engineering.
- The owner has the responsibility of adequately packaging the product and transporting it under insurance to place of purchase, Heatlie Authorised Service Centre, or to Heatlie Engineering, at the owner’scost.
- Warranty service must be performed by a Heatlie Authorised Service Centre or by Heatlie Engineering.
- Installation must conform to the applicable Gas and Building standards laid down by the country or state, and according to the Heatlie product instructions.
- This warranty policy does not cover any problem associated with rust.
- This warranty policy does not cover buckling or warping of the hotplate.
- Lack of maintenance, abuse, misuse, neglect, accident or improper installation of the appliance will not be covered.
- Corrosion or damage caused by exposure to the elements, insects, weather or hail will not be covered under this warranty.NOTE: All barbecues must be covered by a weatherproof cover when not in use.
- Any evidence that the product has been modified or serviced by an unauthorised person will voidthe warranty.
- Heatlie Authorised Service Centres or their representatives may provide on-site warranty service.
No other costs shall be covered by warranty other than the costs of parts and labour.
In the event that warranty service is required, contact a Heatlie Authorised Service Centre or the retailer from whom the product was purchased.
No other warranties, either expressed or implied, whether by distributor, retailer or employees of Heatlie, will be recognized or honoured by Heatlie. This limited warranty sets forth the sole remedy of the owner. The total liability of Heatlie Engineering is limited to the purchase of the product.
Heatlie are continually updating and improving their products. Therefore details and specifications are subject to change.
Accessories & Add-Ons
Description
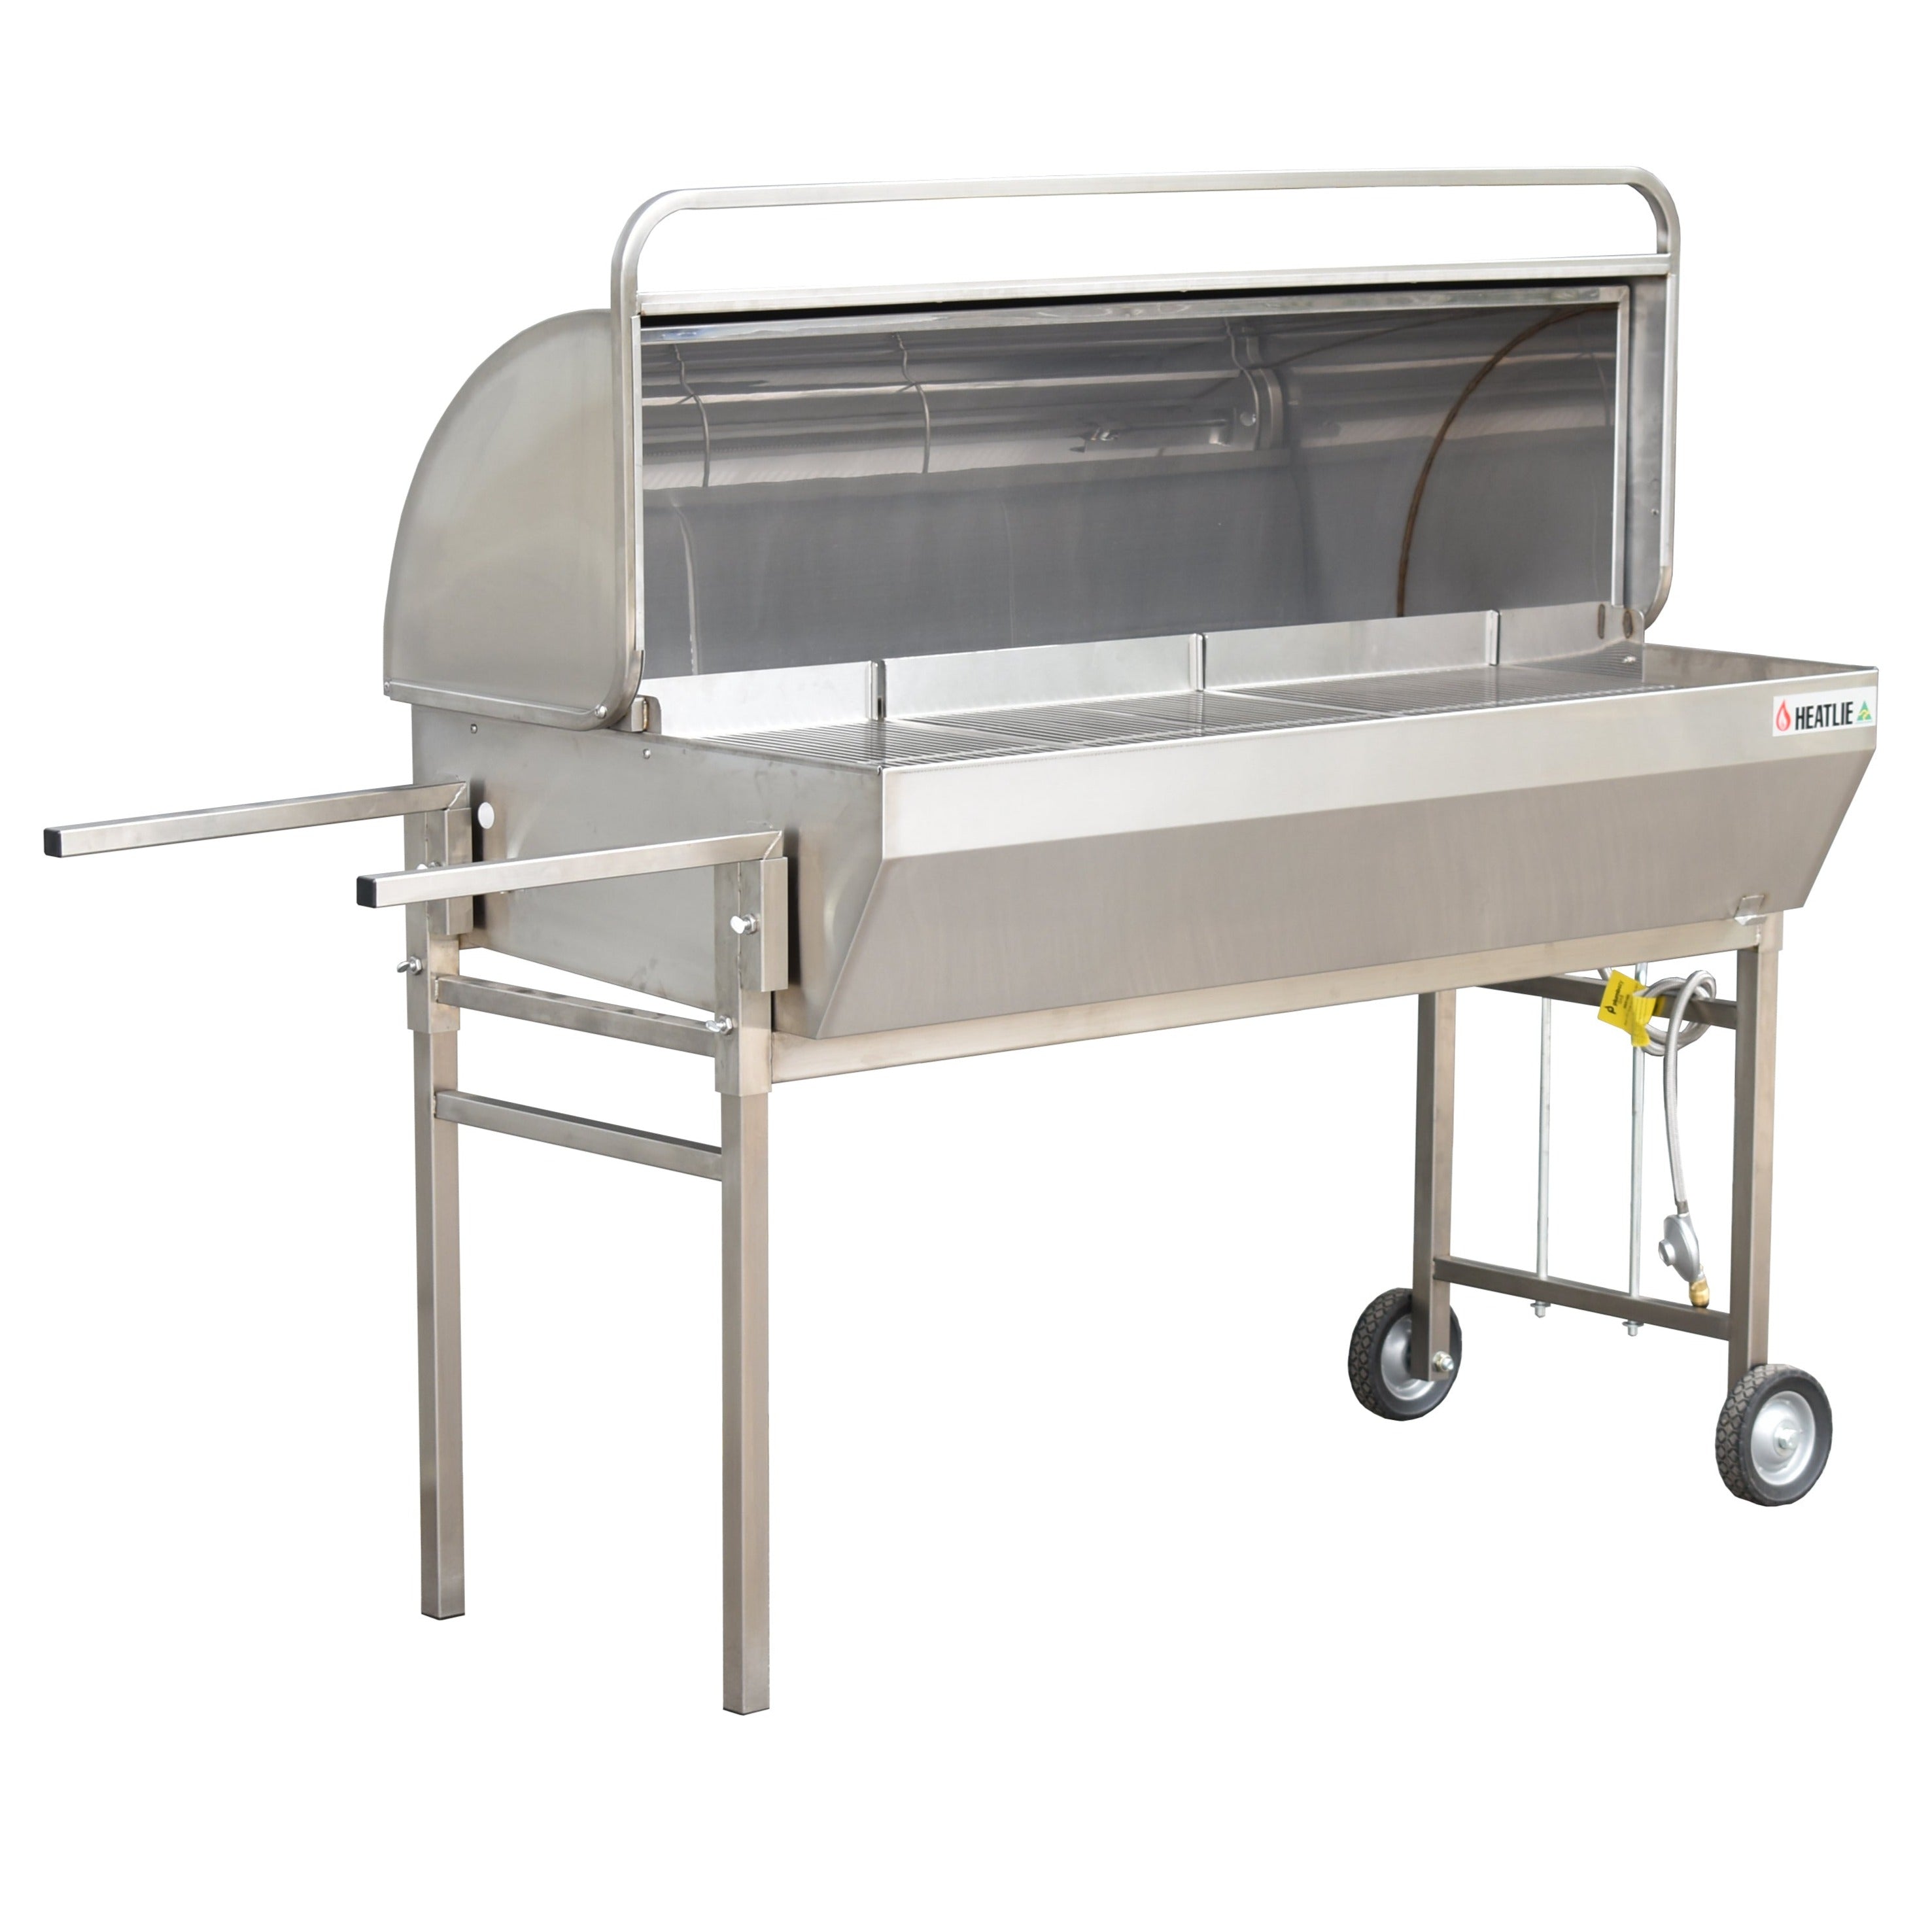
Entertain events with the Heatlie Roaster. Designed for professional caterers, sporting clubs, schools and campsites; the commercial Roaster will help you cook for large groups with ease.
Features
- Can reach 200 celsius in 3 minutes
- Large cooking area for sizable roasts
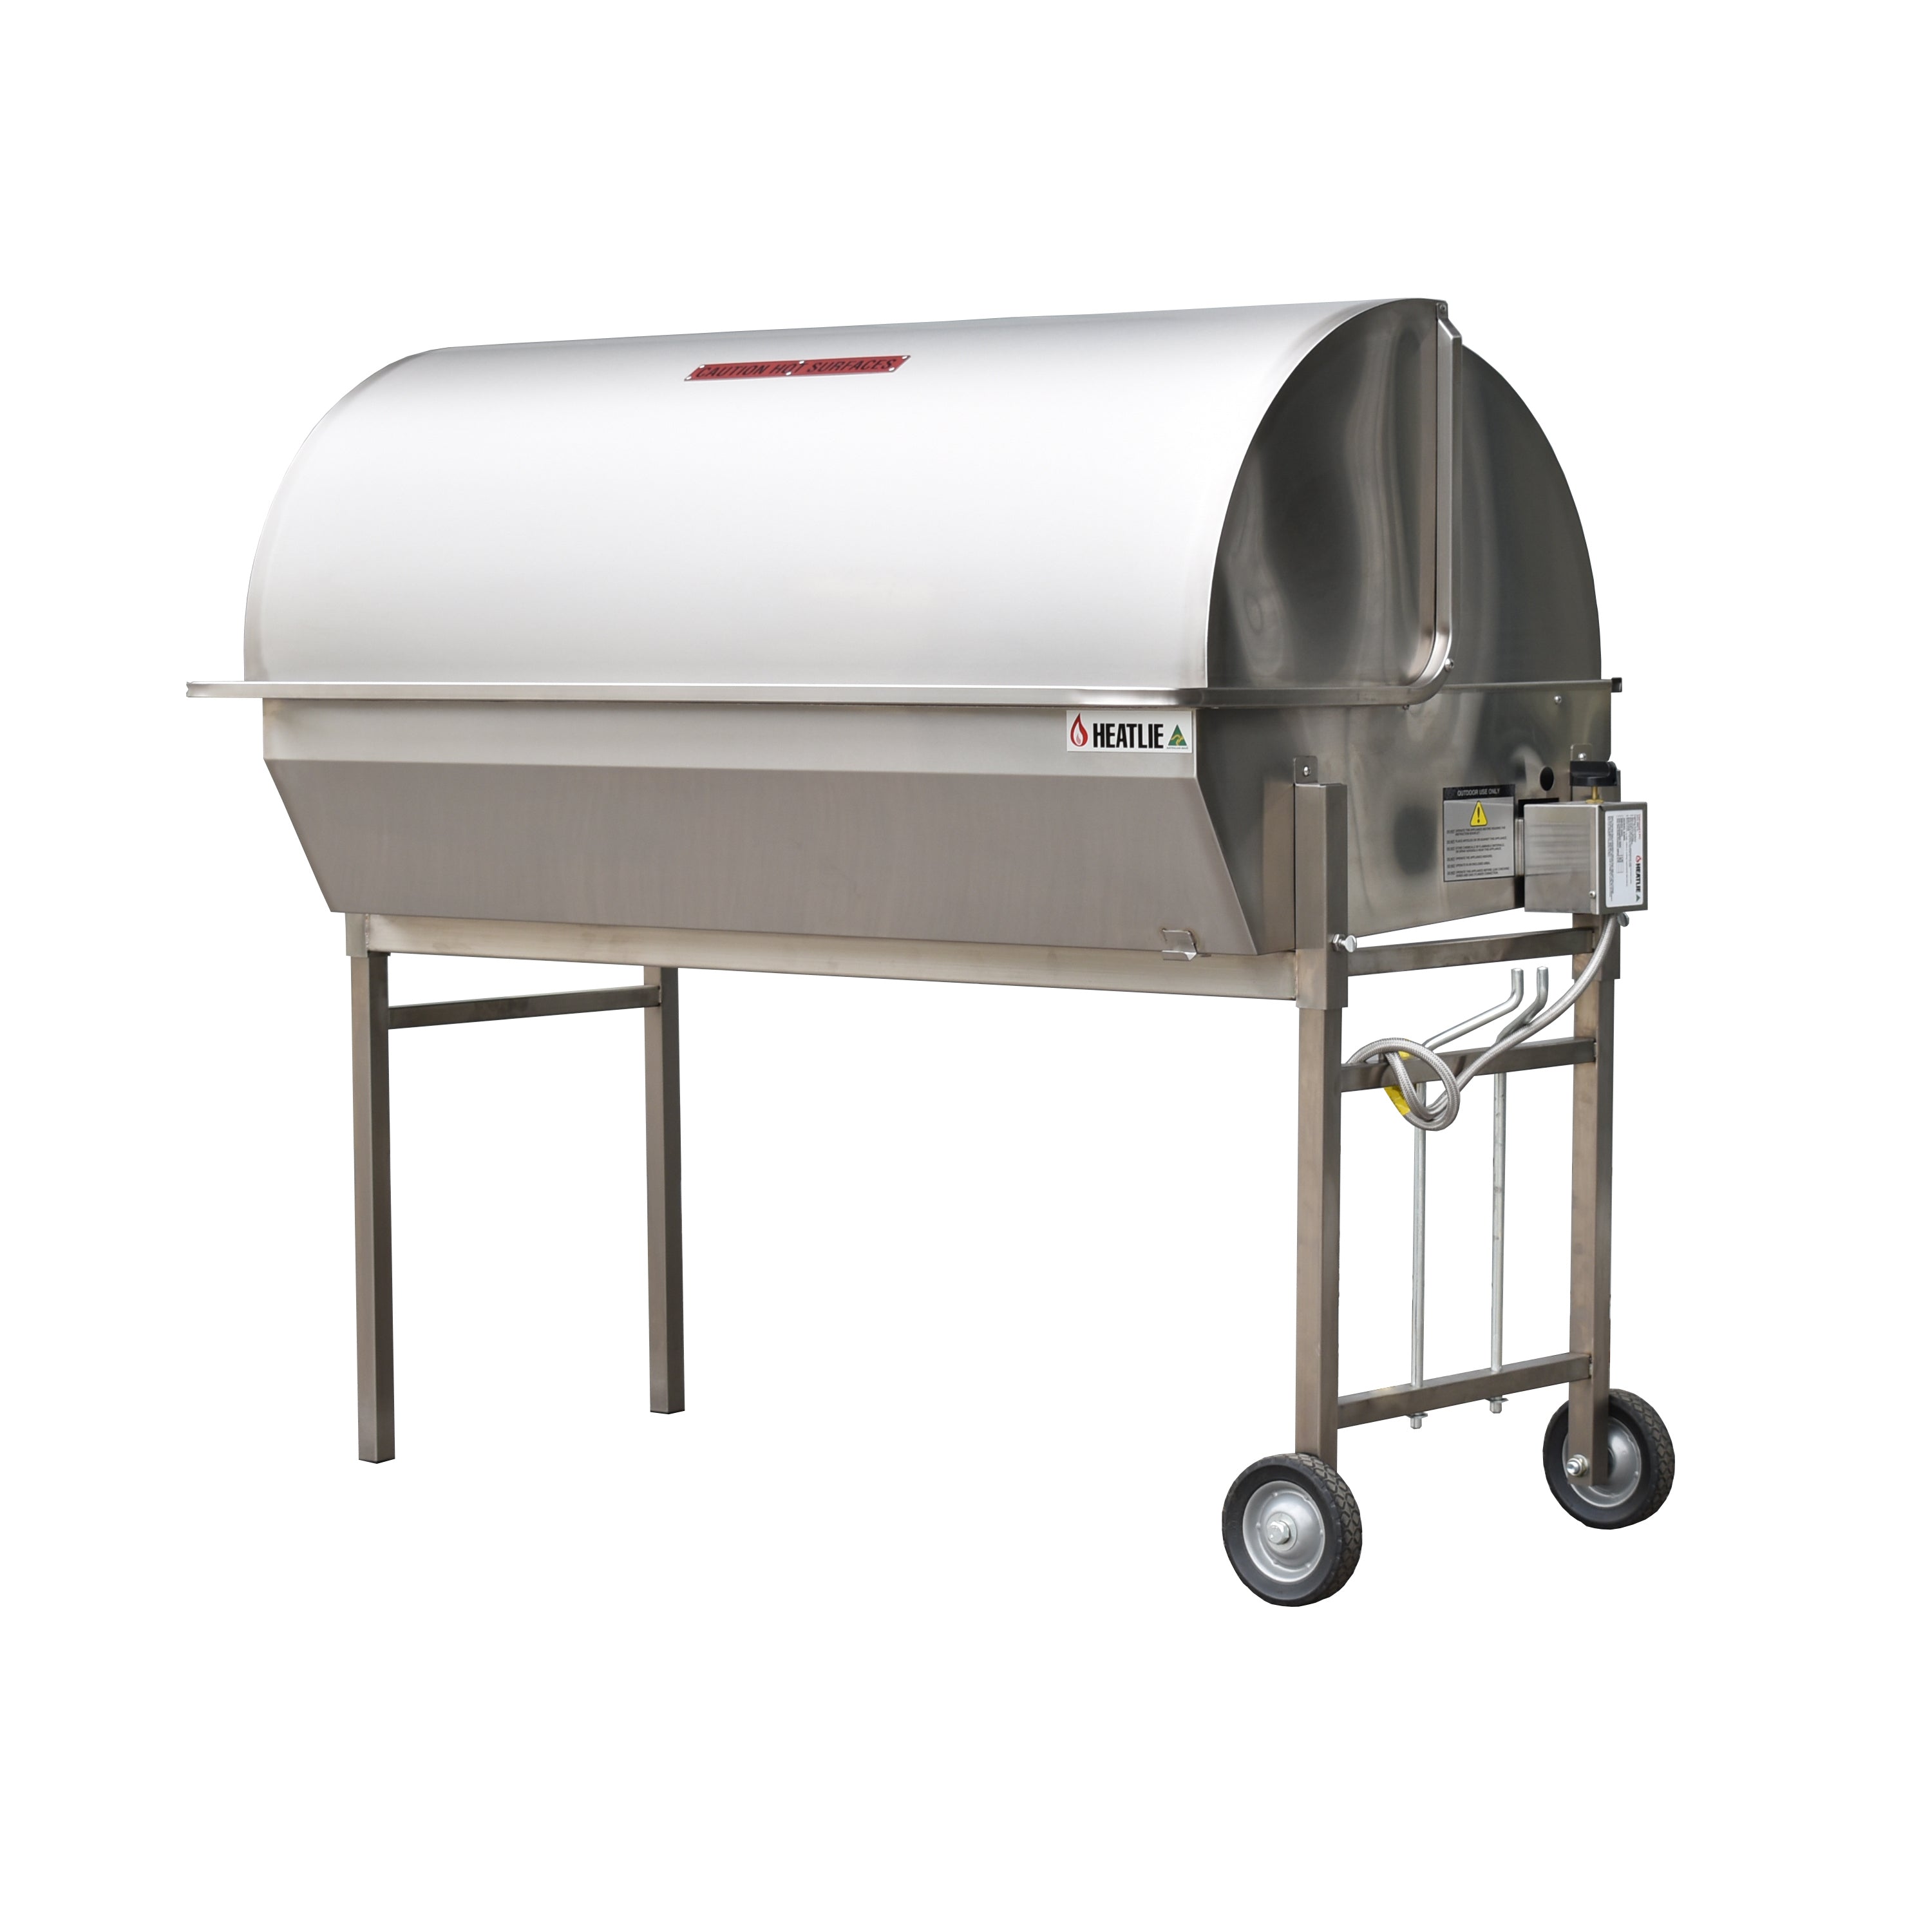
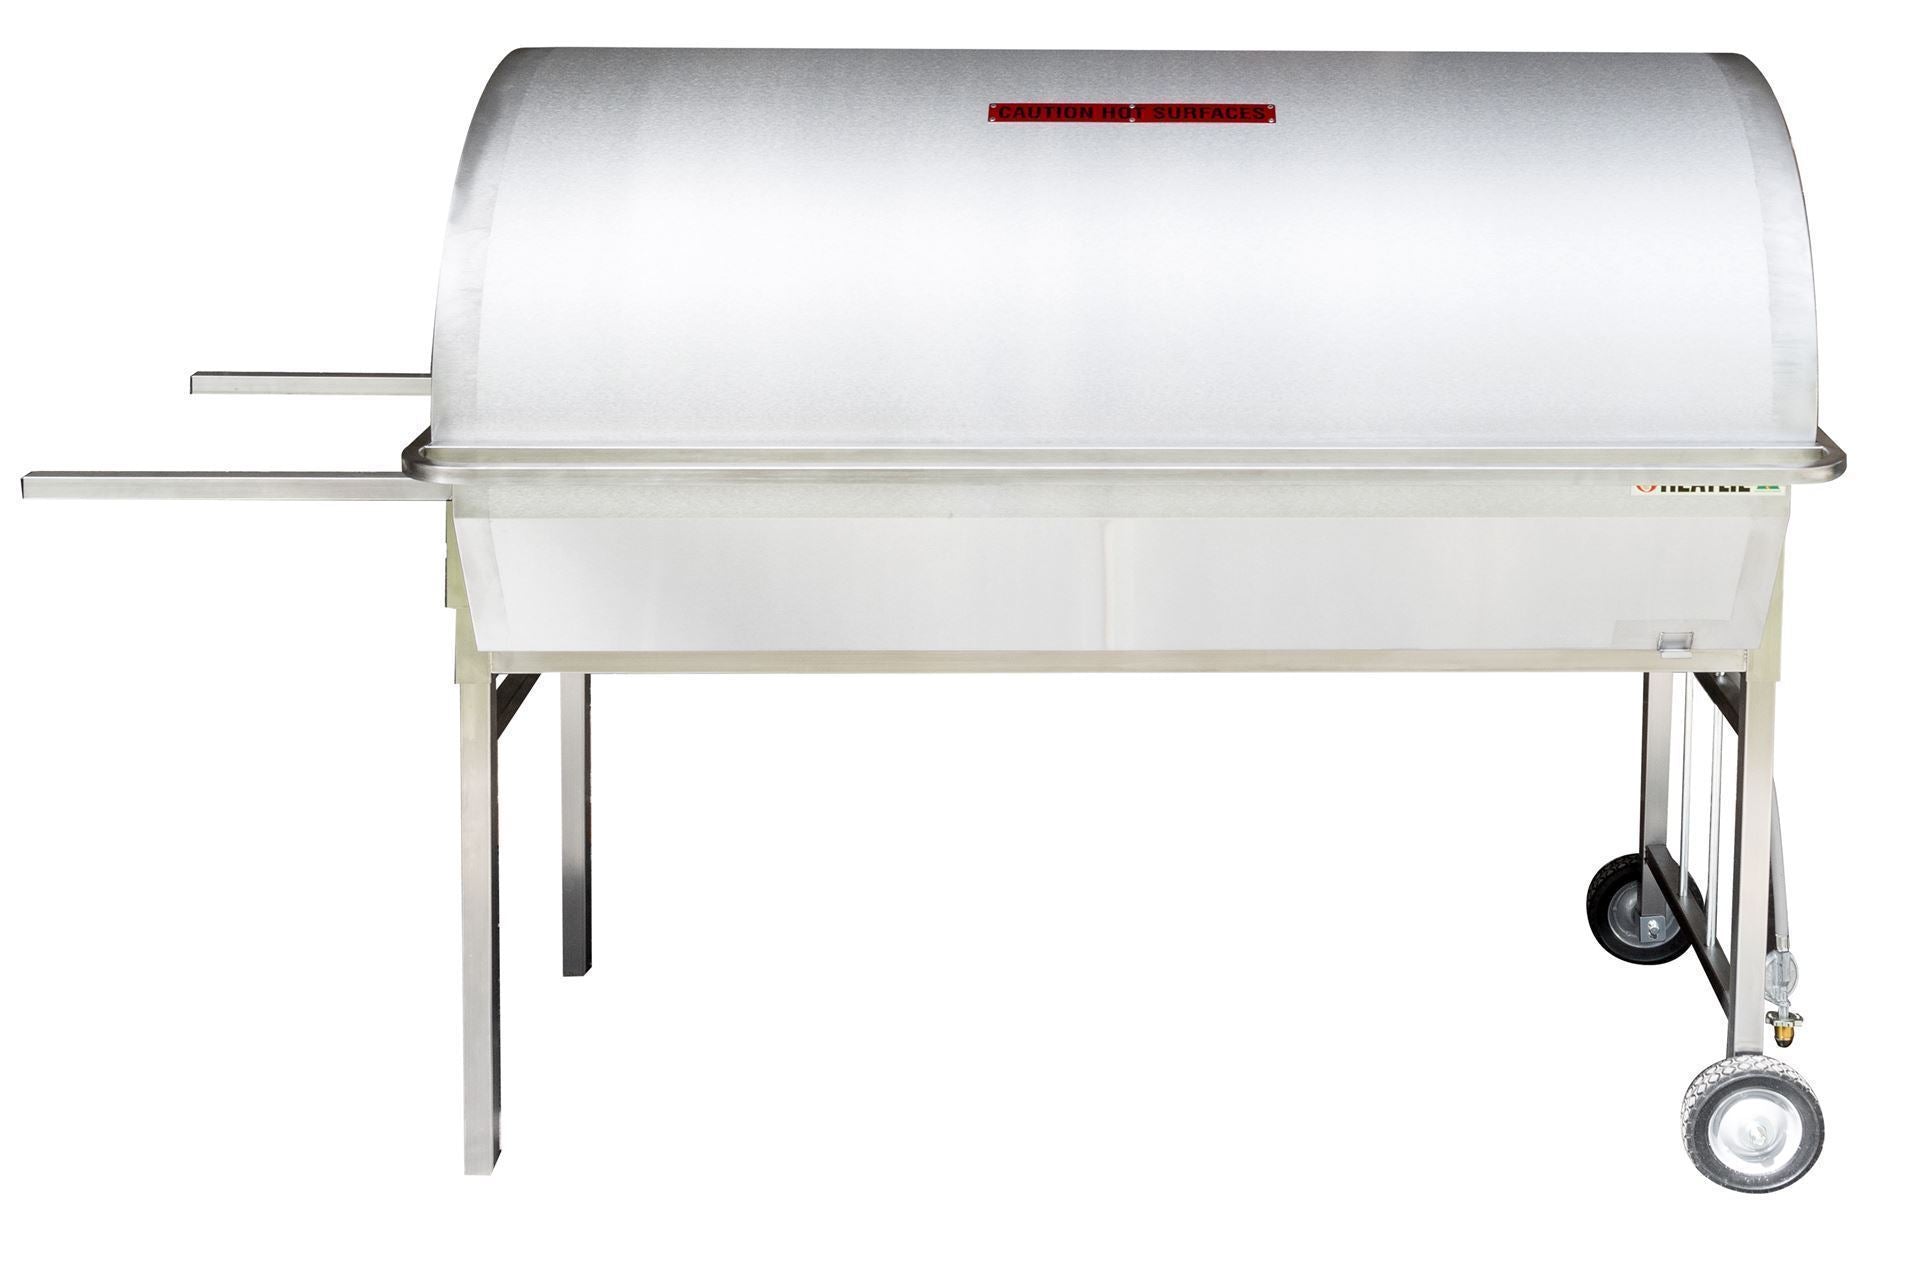
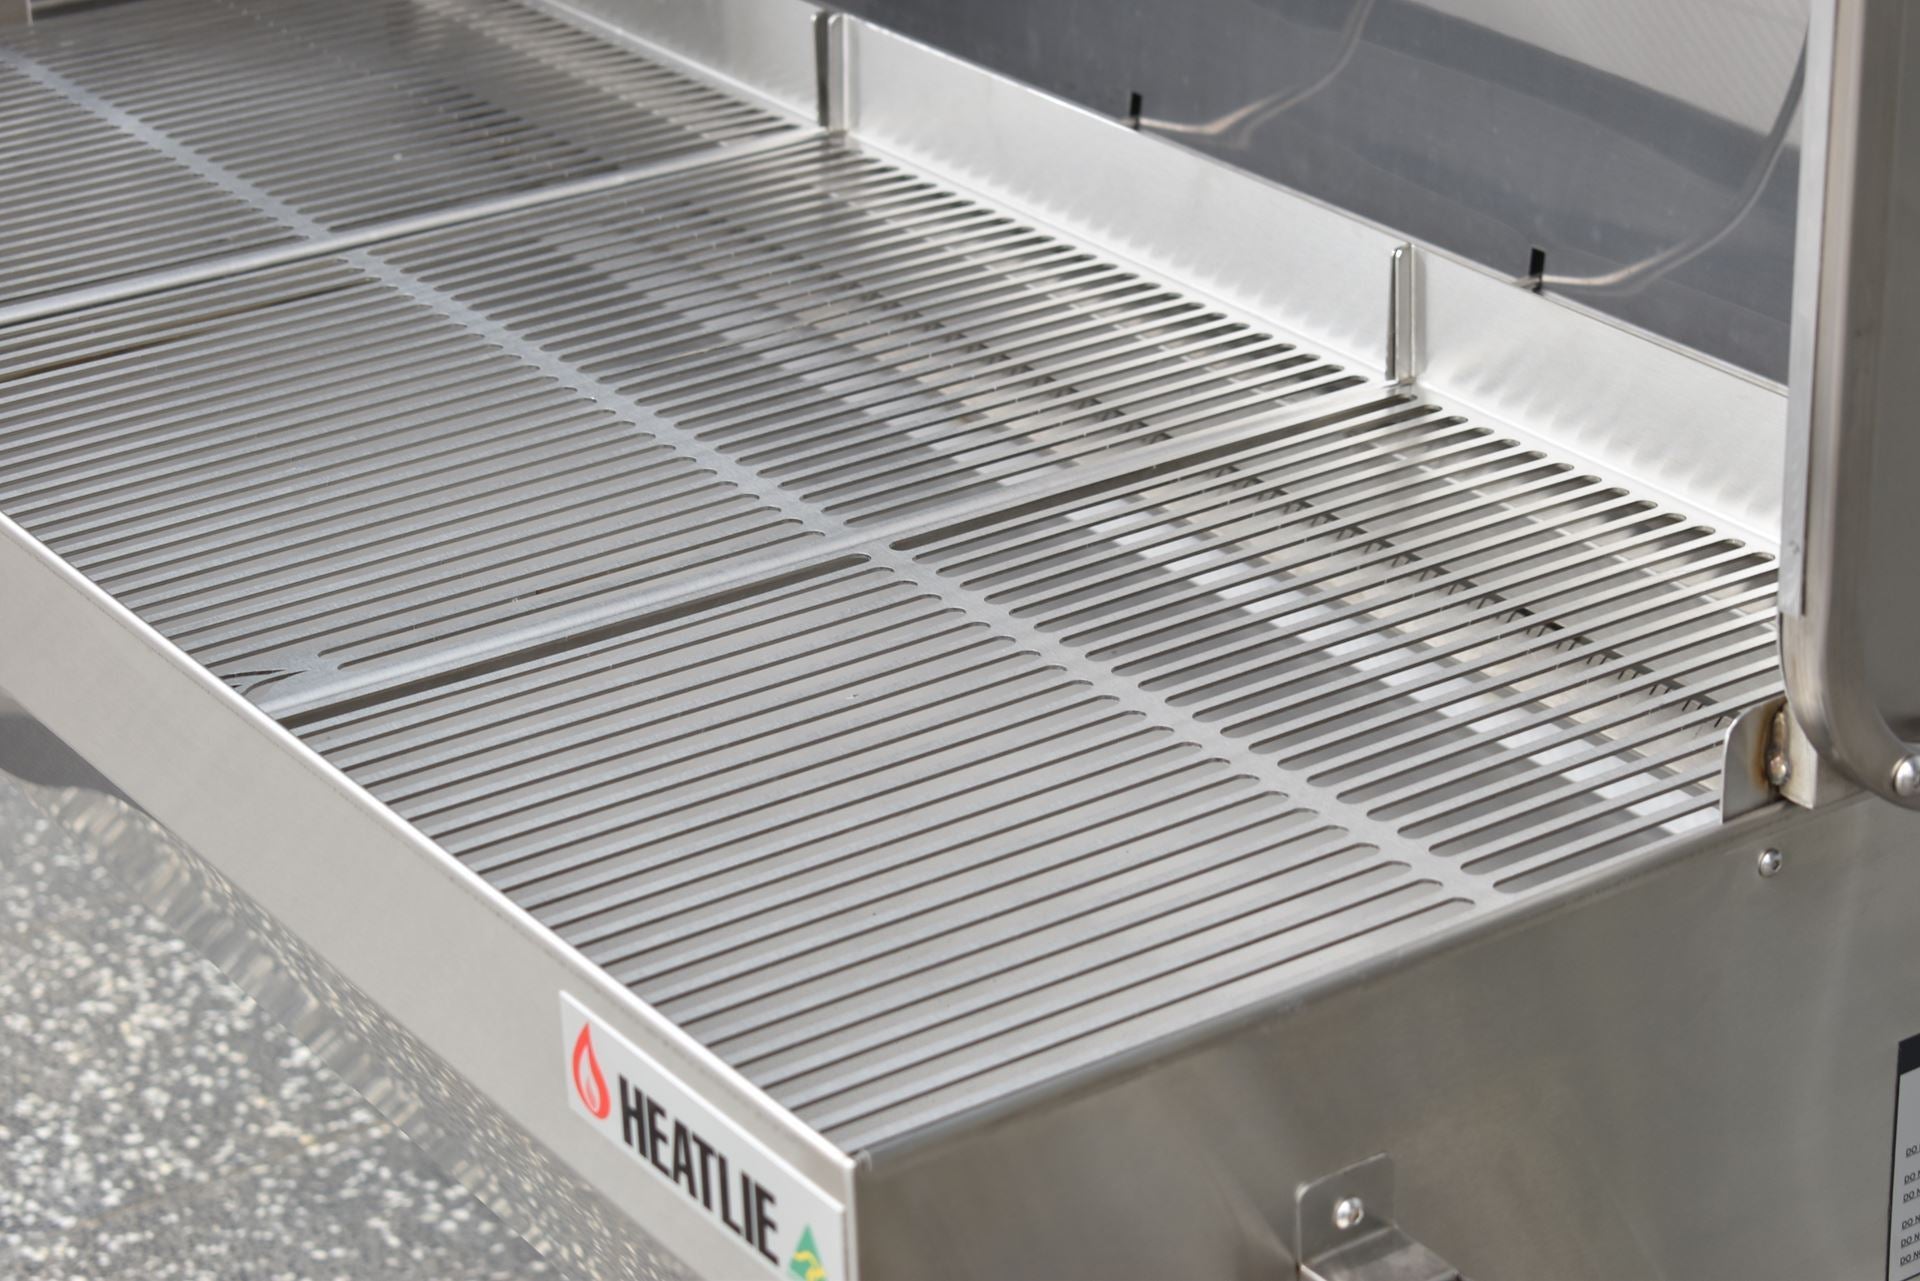
- All stainless steel construction
- Removable burner, gas fittings and controls for easy cleaning and maintenance
- Manufactured in Australia
- Gas consumption: 0.9kg per hour (10 hours cooking from a 9kg gas bottle)
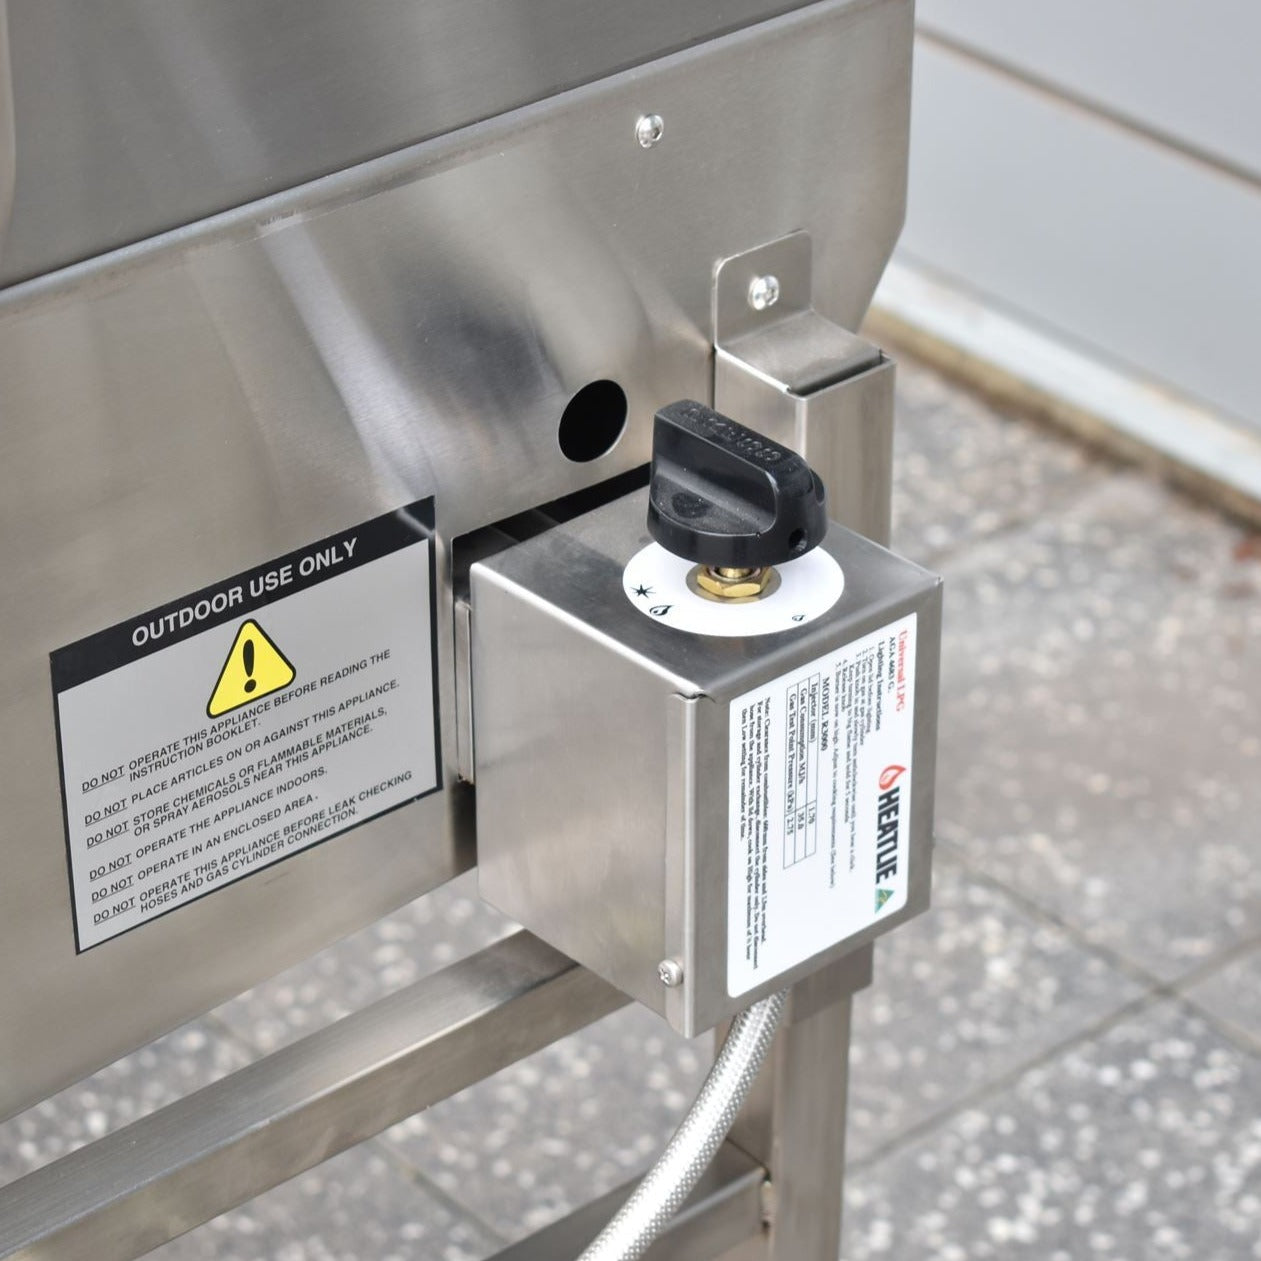
- A piezo ignition for easy starting
- A flame protection device, which cuts off the gas supply if the flame is accidentally extinguished
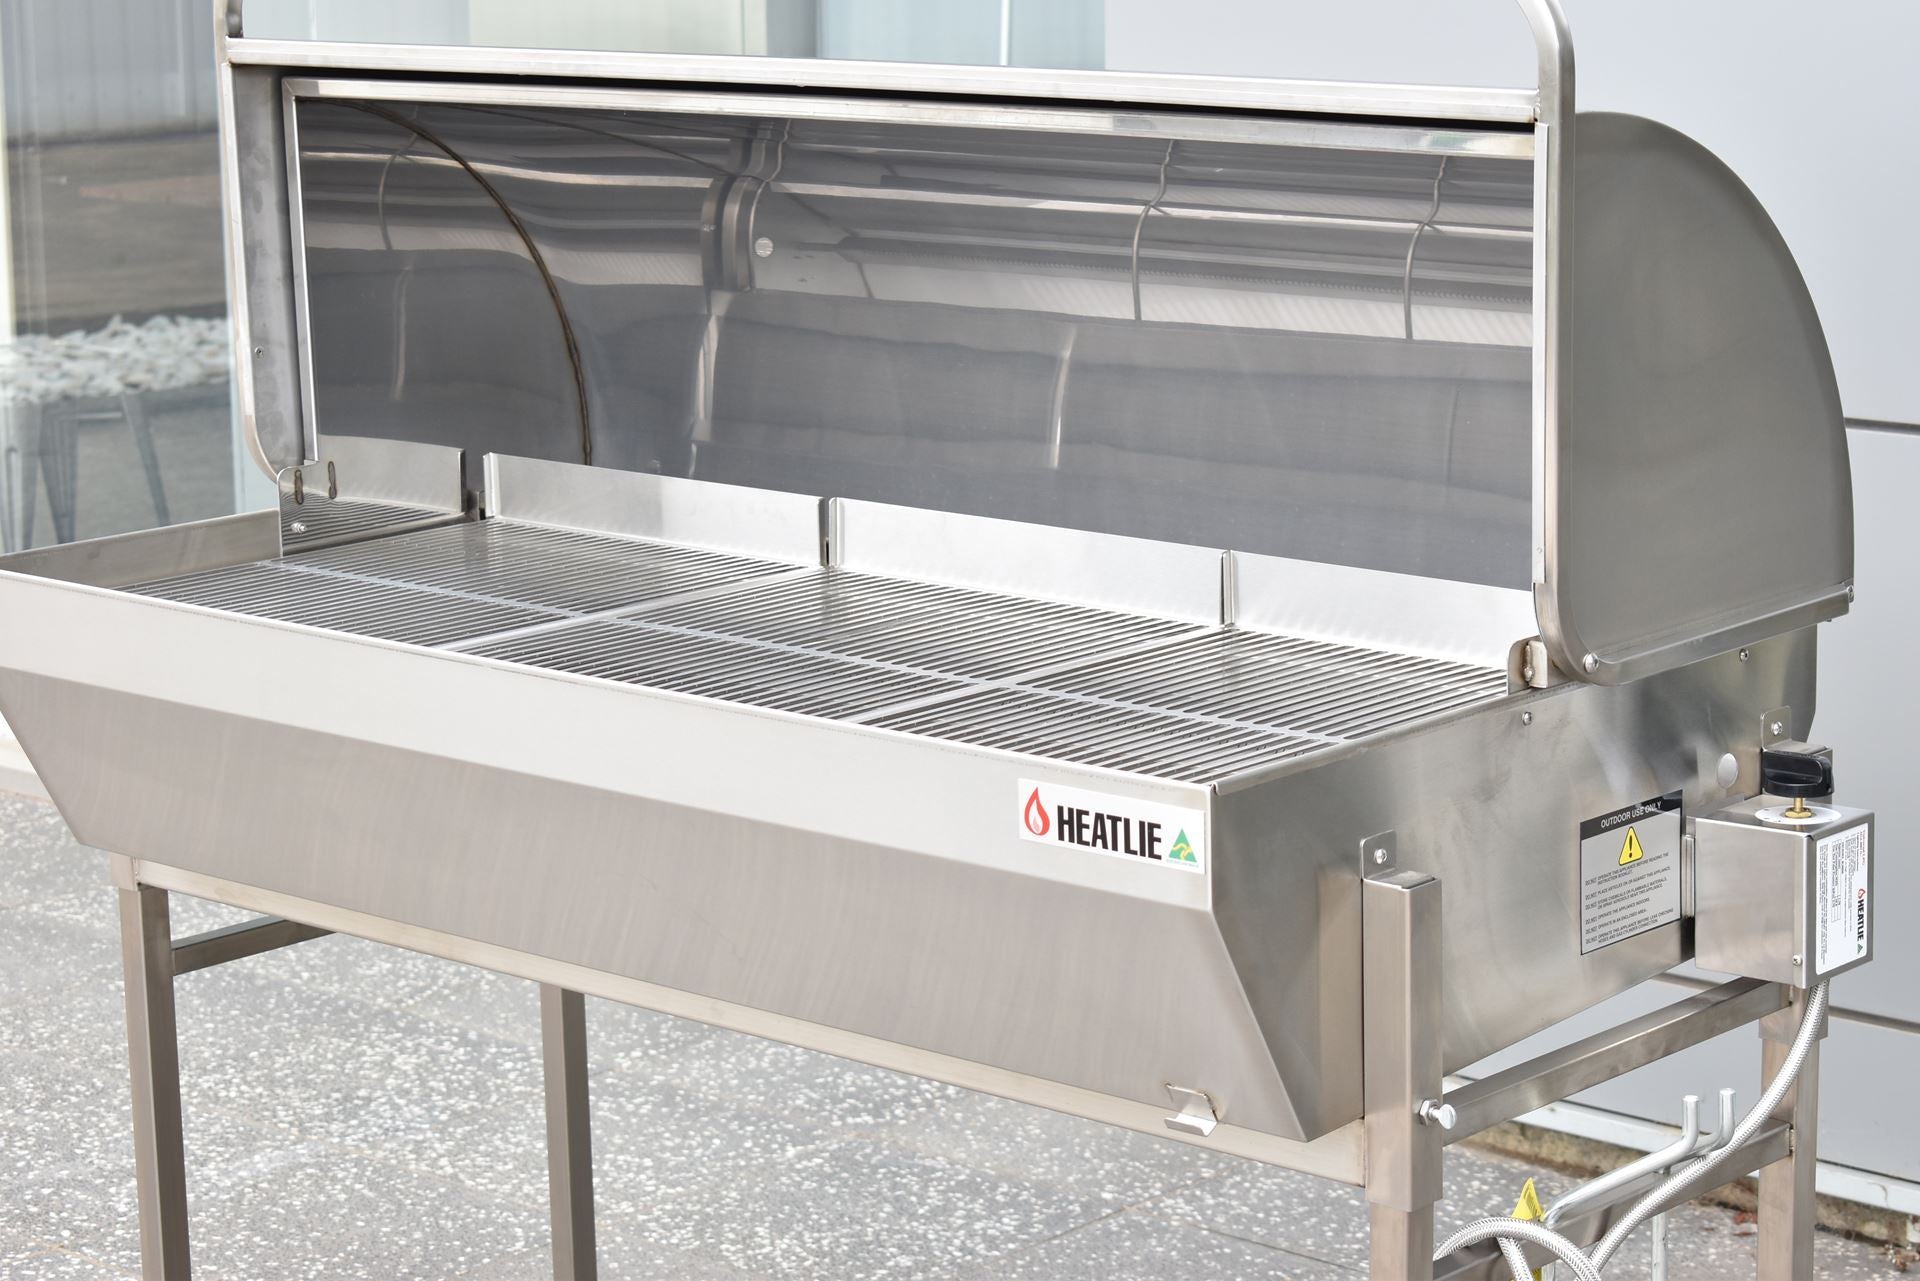
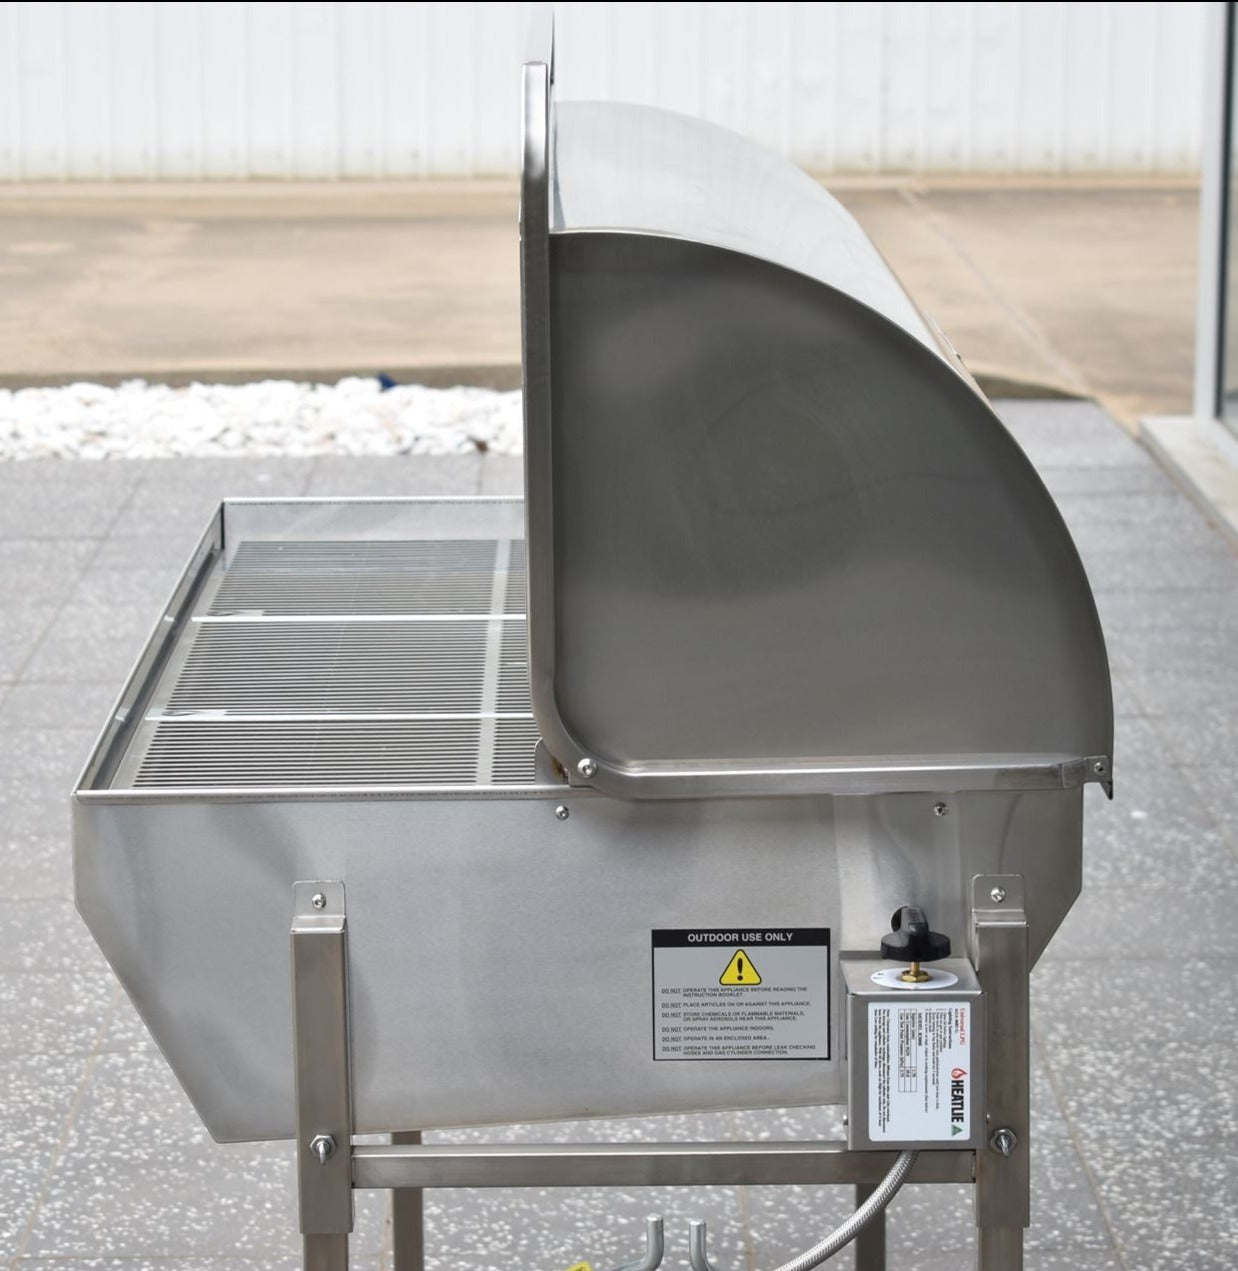
- Roll-top hood for ease of access
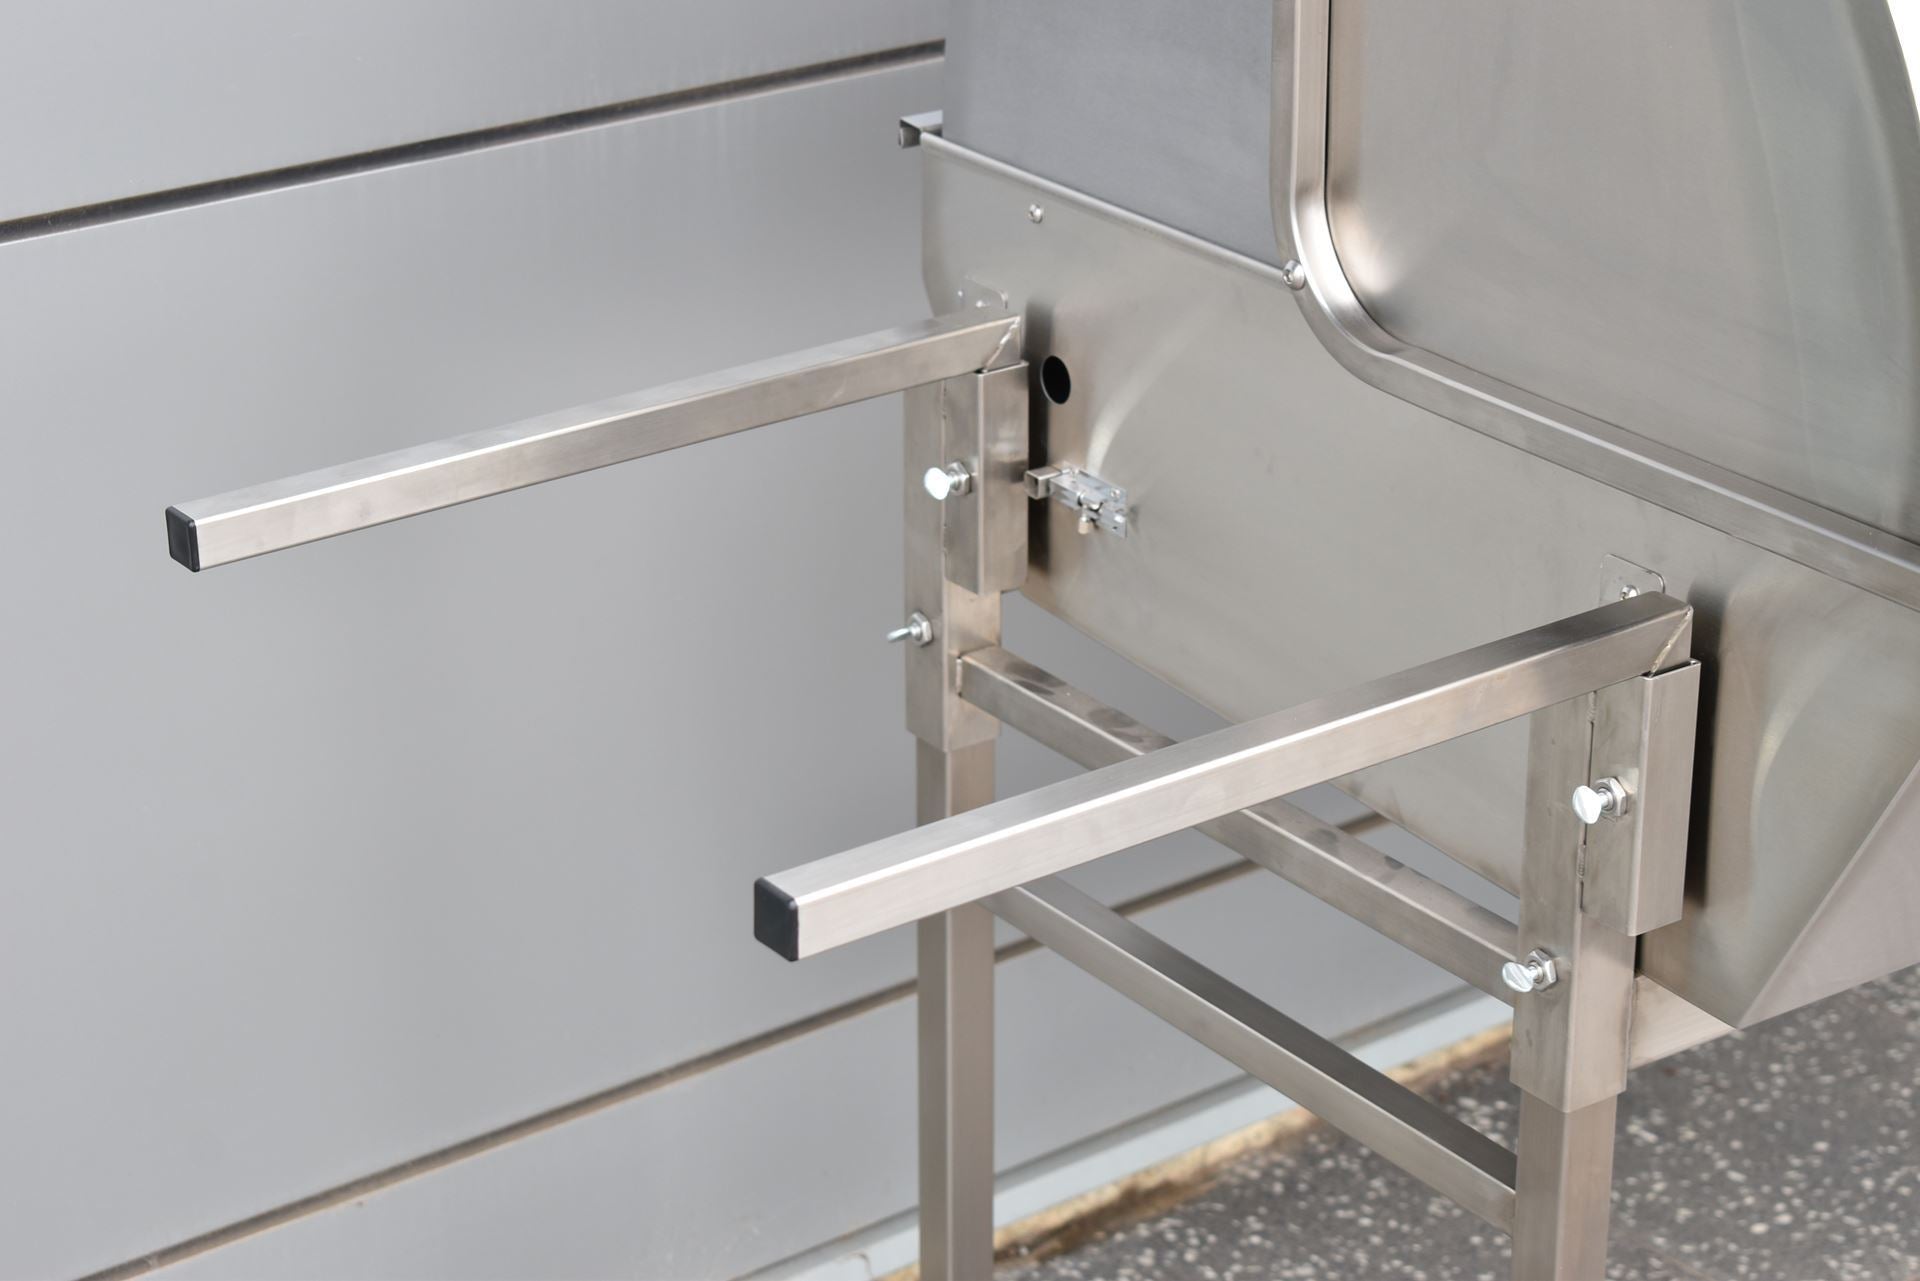
- The Roaster has removable legs for ease of transport including a gas bottle holder
- Available for LPG outside use only
The Heatlie Roaster is made in Australia to be the toughest commercial roasting oven on the market. With a stainless steel finish, the Roaster is durable enough to deal with the rigours of commercial catering for large events.
Go anywhere your job demands with this gas-powered 80kg capacity roaster oven. You'll be able to fit numerous roasts in here at once with expansive rack space and the ability to add more.
The Heatlie Roaster is incredibly energy efficient with the revolutionary Heatlie Ribbon Burner System, utilising a unique circular cooking system for more effective roasting. This creates an oven-convection style of cooking for beautifully, succulent roasts.
Check out our Roaster Spare Parts and Accessories!
Specifications & Dimensions
| Roaster | |
| Total Unit | 1450mm (W) x 1410mm (H) x 860mm (D) |
| Cooking Area | 1350mm x 540mm |
| Weight | 100kg |
| Jet Size | 1.70mm |
| Heat Output | 35 MJ/hr |
| Burner Pressure | 2.75 kPa |
| Material | Stainless Steel 304 |
| Burner Material | Stainless Steel 304 |
| Burner Type | Horizontal Ribbon |
| Number of Burners | 1 |
| Fuel Type | Gas |
| Gas Type | LPG |
| Ignition type | Piezo |
| Control Knob Location | Right hand side |
| Mounting | Mobile cart with 2 wheels |
FAQs & Troubleshooting
Cooking Guide
The Heatlie Roaster works similarly to a fan-forced oven. The burner is at the rear of the firebox and the heat rises and rolls around the food. With the movement of heat rising at the back and rolling down at the front, the hottest cooking area inside the unit is the front area on the rack closest to where the roaster opens.
Do not place food directly over the burner, as your food could burn in direct heat. The fat dripping onto the flame could also cause smoke and flare-ups.
The use of double-up racks enables two-tiered cooking, increasing your cooking space. The temperature is hotter on the higher rack therefore the food will cook slightly quicker.
The Heatlie roaster can reach 200 degrees Celsius in 3 minutes, so there is no need to preheat. The cooking capacity of the 3-rack roaster is about 80kg.
Cooking Times
Allow longer if food is frozen. For easier cleaning, use roasting dishes.
- Whole Pig - 40kg - 4-5 Hours
- Whole Lamb - 20kg - 3.5 Hours
- Whole Turkey - 7.5kg - 2-3 Hours
- Whole Snapper - 8-9kg - 1-1.5 Hours
- Pork, Rumps etc. - Various - 4-5 Hours
- Vegetables - N/A - Approx. 1 Hour
How do I care for my Heatlie Roaster?
The base of the oven can be lined with foil which can be easily removed after cooking and disposed of. Foil trays can also be used in the base and disposed of after use. The burner is able to be removed easily, enabling the oven to be steam cleaned.
The outside of the oven can be cleaned with any commercially available stainless steel cleaning products.
Can I buy replacement burners?
Yes, the roaster burner can be purchased on our website.
What material is the roaster burner?
All Roasters come with a stainless steel burner. These burners may warp upwards when it is heated, as stainless steel has more movement than mild steel but this will not affect the cooking.
The pilot is too small, can it be adjusted?
Yes. Firstly remove the burner from the roaster.
- Check that there are 3 individual flames coming out of the 3 port pilot light. One faces the electrode, one faces the burner, and the other faces the thermocouple, and should all be of equal size if not this means there is an obstruction in one of the ports.
- The flame should be large enough to encase the tip of the thermocouple. If not, tip burner upside down, and on the base of the pilot light, there is a hexagonal cap with a screwdriver slot. (ensure the pilot light is not on for this procedure.)
- Remove the hexagonal cap where you will find another screwdriver slot, this one is brass.
- Turn this slot anti-clockwise a couple of degrees only. Then replace the cap, turn the burner back over and re-light the pilot light. This should have increased the size of the flame. If it is still not big enough, repeat this process until it is.
- The flame must remain blue, if it turns orange it can cause soot build up on the thermocouple and will cease to function properly.
The pilot light is yellow, what does this mean?
The pilot should be blue. The yellow flame means there is possibly an obstruction in the pilot light.
- Firstly, remove the stainless controller cover by undoing the screws holding it on. The igniter is attached to this cover, so you will need to detach the piezo lead first. (Don’t forget to re-attach it later)
- Remove the controller cover and controller from the end plate of the burner which is held on by two nuts and bolts.
- Undo the two brass screws at the end of the pilot light assembly which hold on the clamping bracket.
- The cover part of this assembly will not come apart. Rotate the pilot assembly out from behind the cover to access. The pilot light assembly should now be visible.
- Remove the two hex-headed slot screws that hold the pilot assembly together, (be careful as this is where the item may fall apart) You can now separate the pilot light components to individually look at and check to see that there is no obstruction anywhere.
- The middle part of the bracket is the pilot light (with a mushroom-looking top on it) Take the mushroom and stalk part out, and check inside the mixing chamber (mushroom stalk) for obstructions. Look for grease, insects or something small that has made its way into this chamber. Remove any foreign objects, and clean any grease away. Blow out with compressed air if possible. If you fail to find anything foreign, the pilot light will need to be replaced.
Downloads
Pricing Update
Prices will increase as of July 30th. Order now to secure current pricing.